Three Tips to Blur Water

After posting about exposure triangle and how blurring water means decreasing aperture, I got a few questions about other ways to blur the water in your composition. So, here you go. 

It seems that water always seems to attract attention in photography…whether it’s an ocean at sunrise, dew on a flower, or waterfalls gushing through a mountain stream, the impact that water can have on our imagery is very powerful.  Harness that power to your own creative ends by recognizing 5 ways to blur it to your advantage:

Slow Down!

1.  Slow that shutter speed down! Your shutter speed is the best way to blur water…taking things down to at least 1/4 of a second, if not longer. This is what I did in my last post about the exposure triangle. It’s still my favorite way of blurring water to a creamy smooth texture in photography.
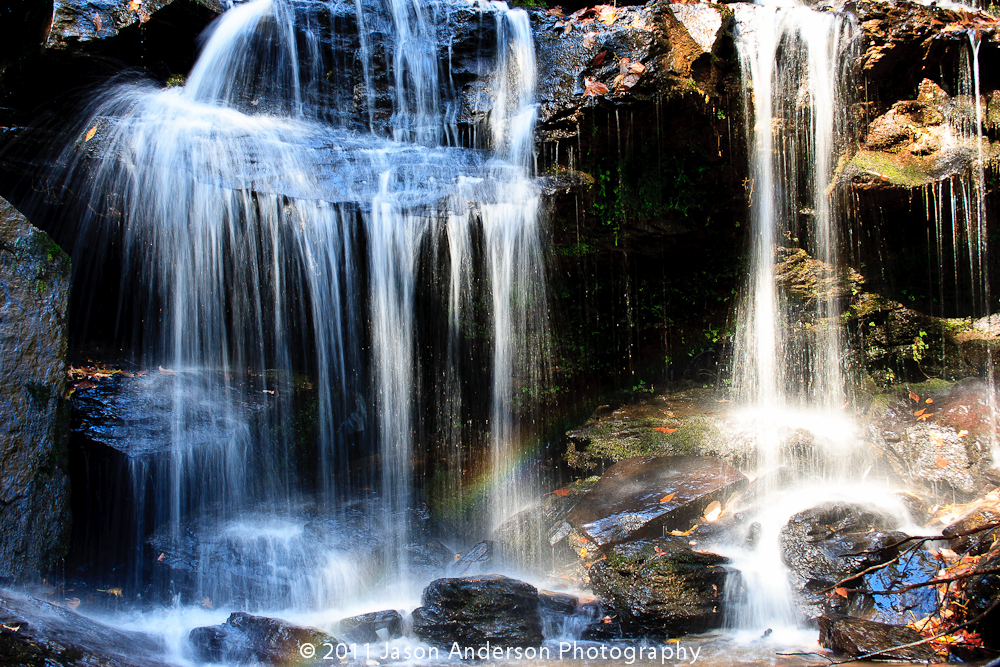
Use a Tripod

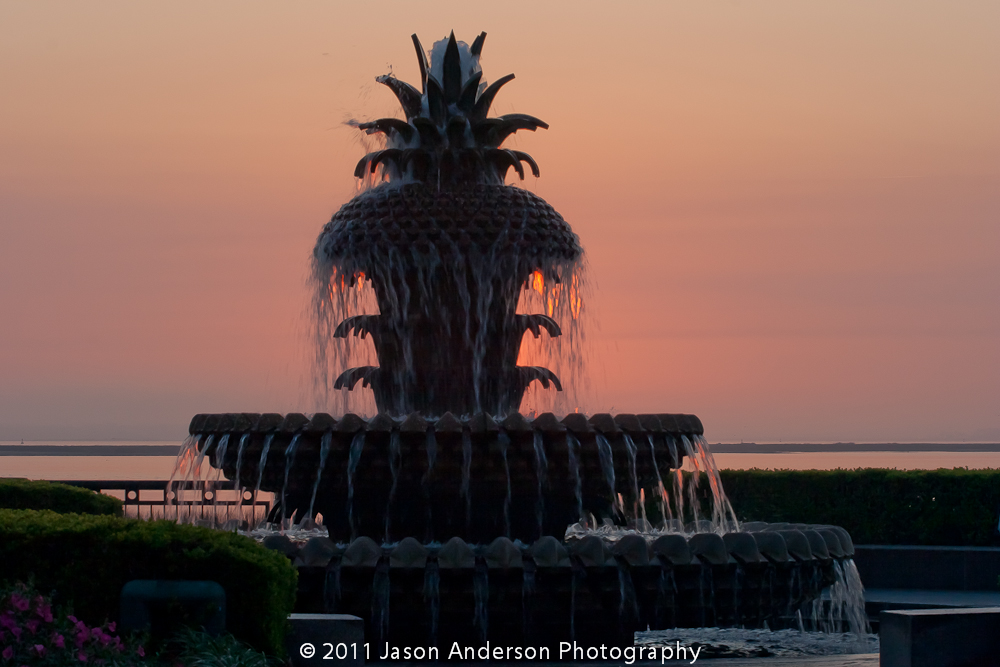
2.  Steady those shots – even without slowing your shutter speed, to seconds, keeping the camera stable to prevent shake when hand holding is near impossible, so please take and use your tripod!  Of course, it goes without saying that when shooting at slower shutter speeds, it helps immensely to be solidly mounted on a good set of legs.  Without getting into the pros and cons of various features and qualities of various tripods, if you are shooting a 10 second exposure of a beach at sunrise, you need legs!
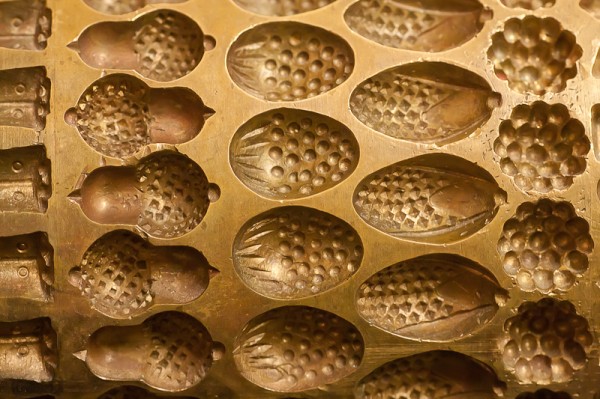
Palmetto Statue
Palmetto Statue

ND Filters

3.  Sometimes even with slowing shutters and using tripods, it’s just not enough. So, you need to find another way to control the light. ND filters are the answer. I’ve seen a lot of people run into an invariably brighter exposure… and to combat extra ambient light in the scene, they use ND filters. These filters essentially prevent those extra rays of light from hitting your sensor.  Polarizers can work too, but they are less effective as they can have some downsides to them including elimination of reflections, casting a specific tone on your entire image, and more.  When in doubt, always use ND filters.
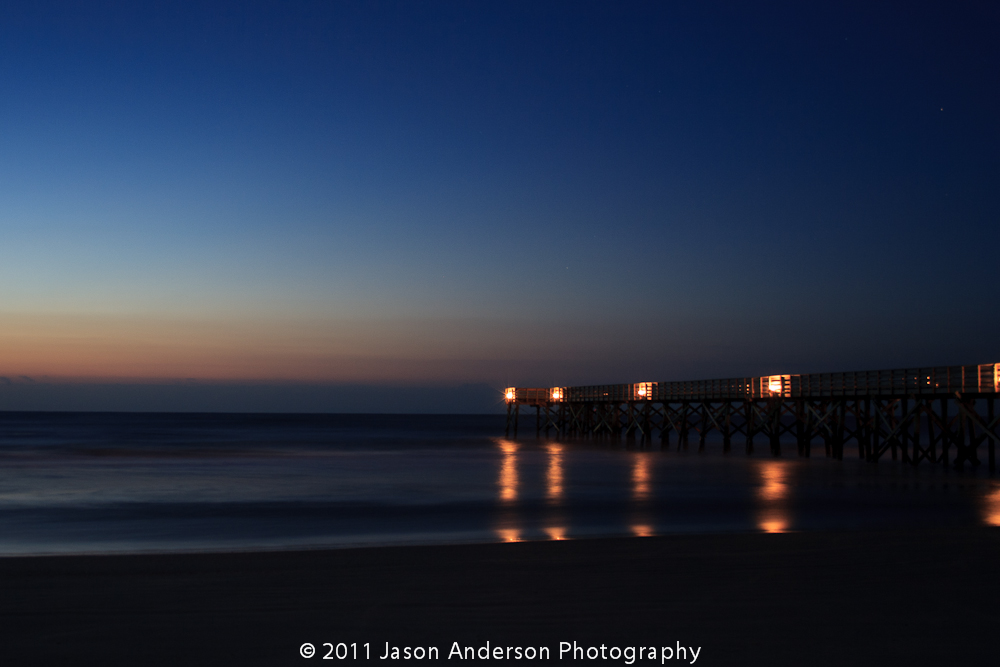
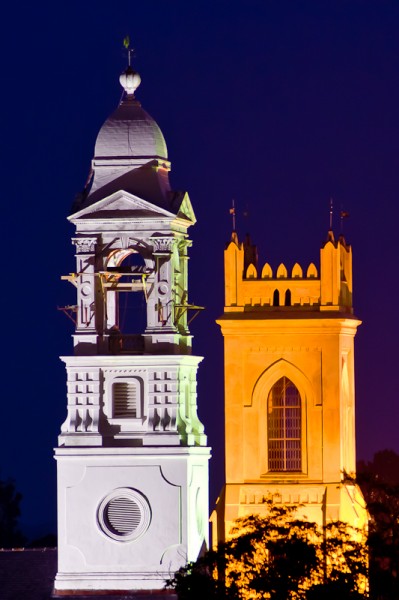
SC Pier at sunrise
SC Pier at sunrise

As always, there’s more than one way to skin a can (or blur water)!  More involve shutter dragging with fill flash, and lots of others.  What ways do you use to blur and control waters’ appearance in your images?  Sound off in the comments with tips and tricks of your own! Happy shooting all, and we’ll see you back here again next time with more photo goodness!

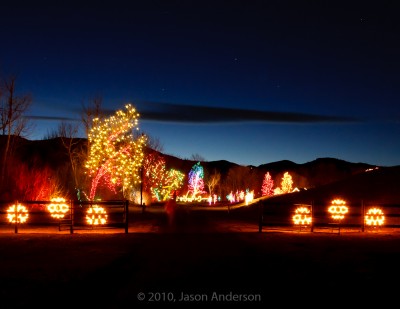
6 Tips for Shooting Christmas Lights

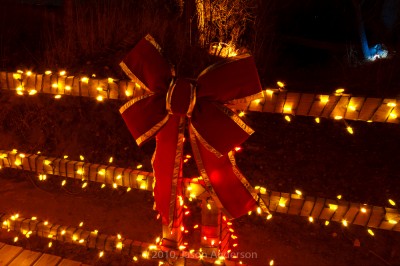
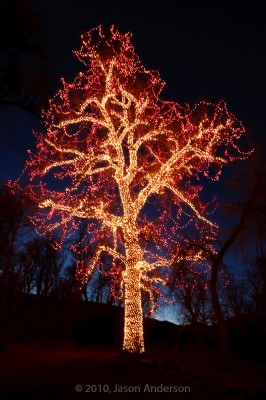
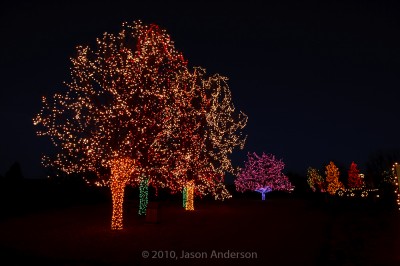
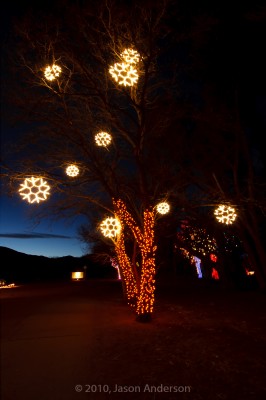
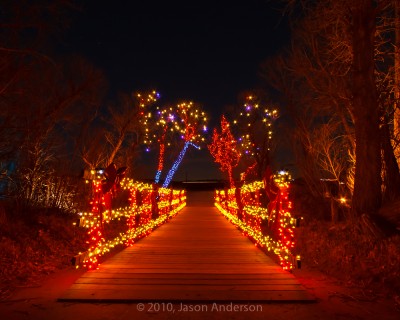
It’s that time of year again, and many have already covered the tips and tricks that surround shooting Christmas Lights.  Here’s just a few tips and sample photos to help you along the way, and give you some ideas for your own creative vision and inspiriation:

  1. Keep your shutter speed around 3-7 seconds.  Much longer than 7 seconds and the lights will start getting blown out, losing detail.  Much shorter than 3 seconds and your lights won’t have enough detail.
  2. Shoot at twilight (or early morning if the lights are still on).  This avoids the problem of needing longer exposures in darker night shots, which can cause #1.  Also, the dark blues in twilight can add some real nice depth and appeal that would otherwise be lacking in darker sky photos.  If you time it right and get clear enough skies, you can also get stars in your images!
  3. It should go without saying, but use a tripod – these long exposures are impossible without it.  To this end though, if you don’t have your tripod wrapped in foam, now is the time to do it.  Colder temps can make it downright painful to touch.
  4. Don’t try to capture too much – you have a limited window of twilight, so once that’s gone, just enjoy the rest of the evening – most of your shots after twilight won’t be “keepers”
  5. Try shooting low to get a different angle, or from above looking down – to get a better “aerial” approach.
  6. For the starburst effect without the star filter, drop your aperture down to f16 or smaller – lights will start to exhibit the starburst effect at these smaller apertures.

There’s my 5 tips – but there’s always more where that came from.  What about the rest of the audience?  What tips, tricks, and advice do you have for shooting the holiday lights?  Share ’em in the comments!  Here’s my sample (there’s more also up on my Flickr photo stream).  Happy shooting and we’ll see you back here again tomorrow!

Christmas Lights at Chatfield 1

Christmas Lights at Chatfield 2

Christmas Lights at Chatfield 3

Christmas Lights at Chatfield 4

Christmas Lights at Chatfield 5

Christmas Lights at Chatfield 6

Editor Note:  These were taken at Chatfield, part of the Denver Botanical Gardens, which are decorated every year.  A nice change of pace from shooting the downtown Denver area, and tickets go for $9.50 (adults) and $6.50 (kids).  With lots of lights and diversions for kids including hot chocolate, hay rides and more, it’s definitely worth the price of admission.  Maps, schedules, and additional information are available here.

Five Ways to Deal with Harsh/Low Lighting

A common question I get here is how to deal with harsh or low light situations.  This is a great question, and for event photographers, it’s simply part of the job to recognize various lighting conditions and address them accordingly.  Today, I’d like to share  Five Ways to Deal with Harsh/Low Lighting:

1.  Cranking the ISO and hoping to fix in post

With advancements in technology, noise handling both in camera and in post production has resulted in some astonishing results that in previous years would have been literally unrecoverable.  While we should always endeavor to make our images shine as best we can in camera – advancements in tools of the trade simply give us more options and we would be foolish not to use them.

Here’s a good example of a shot that was done at a high in-camera ISO setting, that was recoverable to a good quality image.  It may not necessarily be of “stock photography” caliber (you really need every pixel to be perfect for stock photography), but for event photography, I would consider this acceptable quality.

Removing Noise

2.  Implementing additional light sources (Flash, video lights, etc.)

Adding light

3.  Using a tripod/monopod in conjunction with longer exposures to increase odds of sharp captures

Long Shutter Speed

4.  Use a gray card to get good white balance/off-set the ambient lighting conditions.

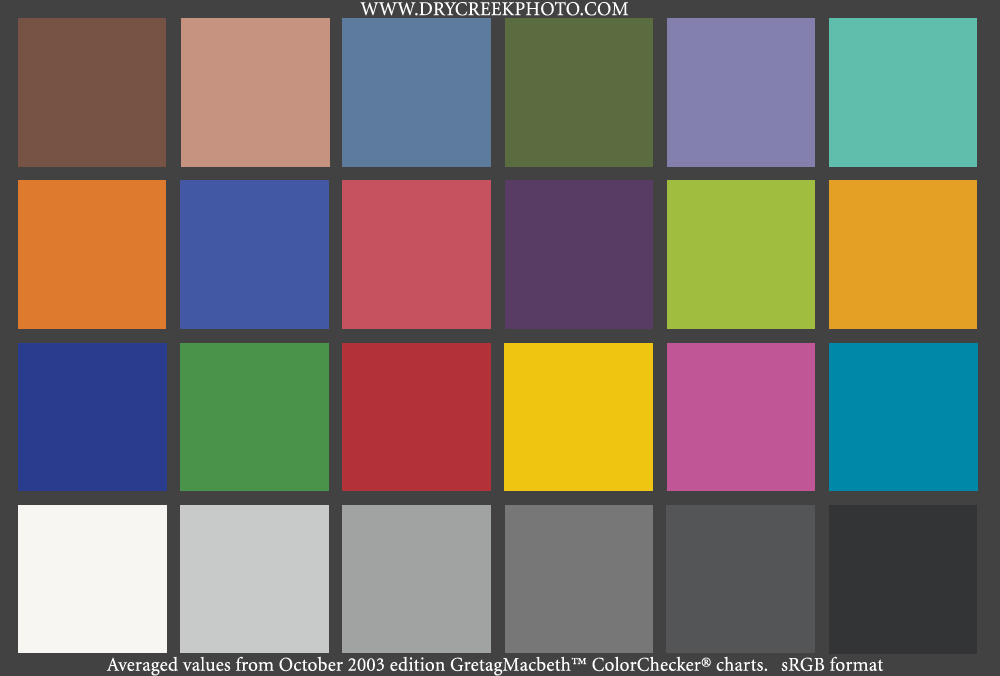
Having your subject hold a color balance card (or even just a gray card) in the scene for one shot is a great way to counter-act the effect of difficult lighting, including everything from halogen lights, to fluorescent, tungsten-florescent mixes, and the garish hue from sodium vapor lights common in locales like stadiums and street light settings.

http://www.drycreekphoto.com/images/Charts/MacbethCC-sRGB.jpg
Gretag Macbeth Color Wheel

Sample Graycard Shot

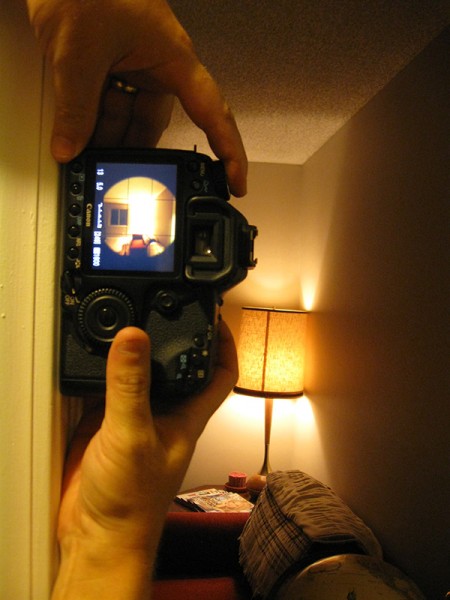
5.  Use supports from the surroundings to brace your camera

Using a tree, a wall, or even the ground to help stabilize your camera can reduce the shutter speed considerably to help when shooting in low light situations.

Use a wall for support

As much as we may try to hand hold our cameras, blur is unavoidable due to our heartbeats, finger tremors, breathing, and a host of biological factors, the best we can do is help to minimize that blur by using supporting mechanisms and techniques to get as stable a shot as we can.  Even when we can hand-hold, matching that color from the scene is much easier to do when you start from a known vantage point, whether it be your own flash, or a controlled ambient scene.  So much to think about and so little time…where do you want to go from here?

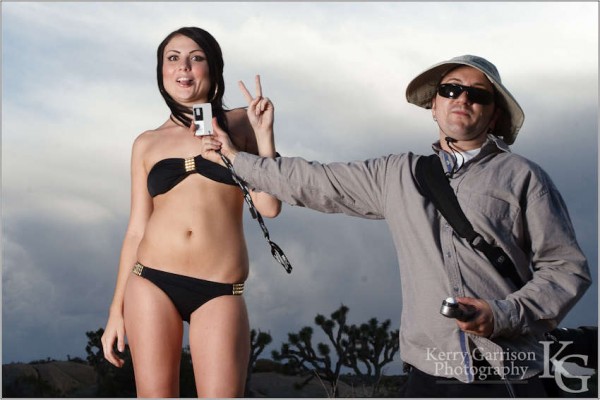
Hint:  Sound off in the comments – would love to hear others thoughts, tips, and tricks for dealing with low and/or harsh lighting! Special thanks to Kerry Garrison of Kerry Garrison Photography for sharing a sample image from his own portfolio when I couldn’t track my own down in the library (bad me for not keywording fully!)…

kL2HNZVO

Brush it, Baby!

There is always something coming up that throws me for a loop and last night, it was a “thermal event” on my main Windows computer that I do my image editing from.  The room that the computer lives in is a tad warm, and as you may recall, we’ve been without A/C for a while now.  I am going to have to do something to keep that computer cooler, but for now, it means my 40D shots are not editable in PS3 because I only have a license for it on the one computer.  I have CS2 on the Mac, which won’t recognize the images, so I went about installing DPP there last night.  It did prreclude a “What’s This?” post for today as I had anticipated, so in lieu of that, I’ve got another topic waiting in the wings that should be of some interest, and that’s brushes!

We all know about the brush tool in Photoshop, but all the options that go along with it can sometimes be confusing.  Well, never fear, the “Canon Blogger” is here (me), to help explain it all to you.  Let’s go ahead and get started then.  As far as brushes go, there are four main elements that can adjust the type of brush that is applied to your document.  These are opacity, flow, size, and hardness.   Today I am going to look at the hardness element of a brush.

If you click on the various standard brushes in Photoshop, you will get brushes of various sizes and hardness.  This is all fine and dandy, but if you want a truly custom brush for your work flow, you need to really tweak the size and hardness depending on the image you are working with.  Brush hardness refers to the degree to which a single click of the brush will feather from the center to the edge of your brush size.  Here, it may be best to give you examples of what this means so you can see exactly what it does.

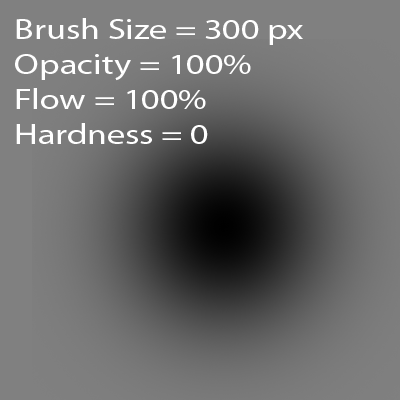
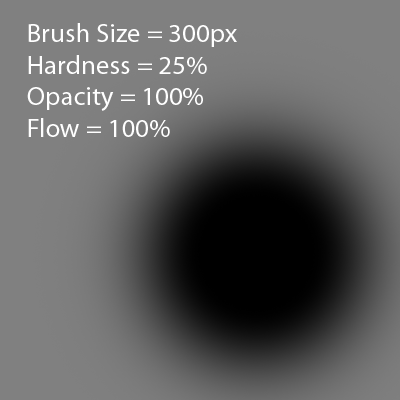
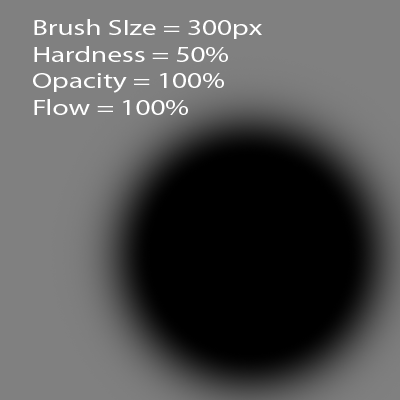
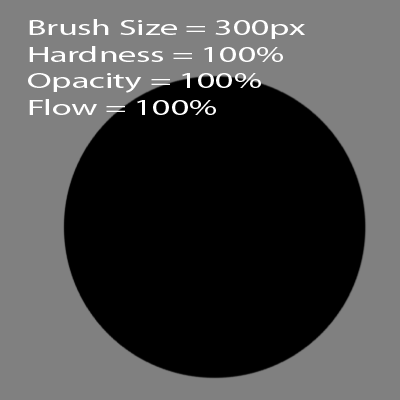
Here I am going to present a brush as applied to a document with a 50% gray background, with all other variables except hardness kept constant.  I then adjust the hardness from 0% to 25% and then 50% and 100%.  As you can tell, as I increased the hardness, the amount of the brush that that is filled increases relative to the hardness level.

Check these out:

Brush 1

Brush 2

Brush 3

Brush 4

Notice how in each instance, the edge of the circle gets slightly sharper and sharper, with less of that “feathered” look.  Pretty neat, eh?  That’s what increasing the hardness does – it decreases the feathering or fading of a brush into the background.

I’ve often found that when learning all the tools of Photoshop, Lightroom, Bridge, Flash and everything else, that it helps to just take things one step at a time, and make comparisons between various settings.  Here, making just one change to one element of the brush options demonstrated to me (and hopefully to you) what impact changing the brush hardness has on the quality and type of brushing that you add to your imagery.

What brushes do you like?  Are there any particular settings that you find useful for certain types of imagery?  What about other tools?  Are there any tools that you just wish you understood better?  Feel free to share your own thoughts on brush features either via email or the comments.

Anyway, that’s it for todays post.  Tomorrow the “What’s This?” should be back up and running as I swing back into gear there.  Hope everyone enjoyed the post on brush features/options.  Clearly, there might be more content down the road that will illustrate various features of Photoshop tools, so make sure to share your own thoughts on what content would be of use so I can include that.  Until tomorrow then, happy shooting and watch those apertures!