Over the past three years or so, I’ve had several people ask me about what’s involved in migrating from one installation of Photoshop to another, or what’s involved in moving from an old system to a new system. With Photoshop, it’s just not as easy as it is with other applications for a number of reasons:
1. Dependencies – While Photoshop is insanely popular, this popularity has spawned an entire industry of third party applications called plug-ins that get installed into Photoshop. If you simply remove Photoshop without considering these 3rd party “apps”, you could lose their functionality. There are also other things that become part of your work flow in Photoshop that you may want to save too, including actions, scripts, font folders, brushes, and much more.
2. Licensing – Because it’s not a cheap application, Adobe has to carefully manage licensing, which means that any serial number can only be activated twice before it gets “locked”. This allows you to have an installation on a desktop and a laptop, or a work computer and a home computer. Well, if you go an just un-install or delete the files for Photoshop, you may find yourself unable to activate again should you re-install on a new computer. The way to avoid this is to ensure you de-authorize (or deactivate) before uninstalling. This will free up the license for use again.
3. Other add-ons – Photoshop also has other add-in elements like automation tasks you may have added over time. I have a few from On One, Topaz Labs, and a few others that I’ve gathered over time. Make sure you check to make sure these don’t have installers with licensing too, because that can also be problematic for a software migration.
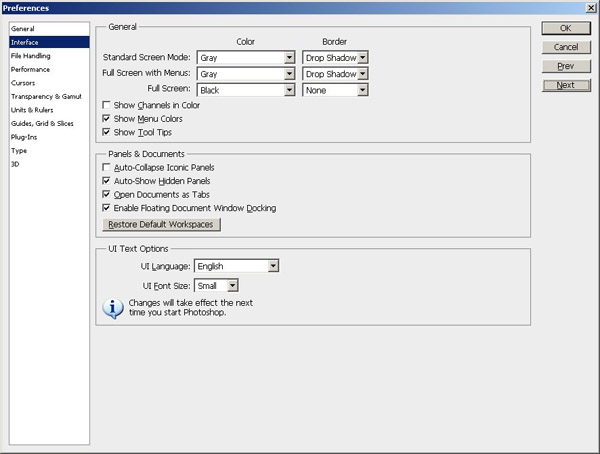
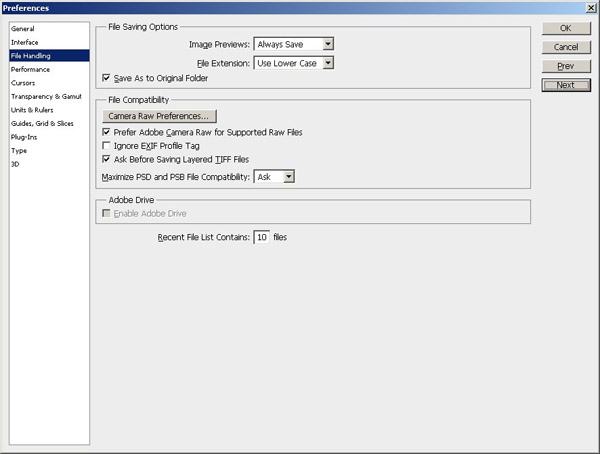
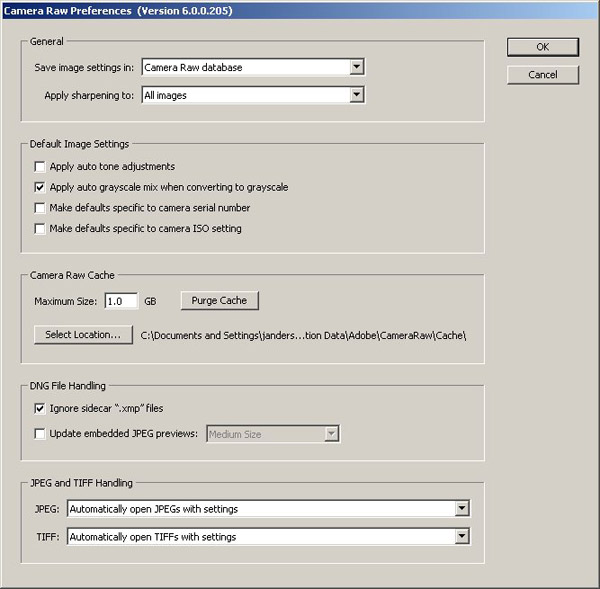
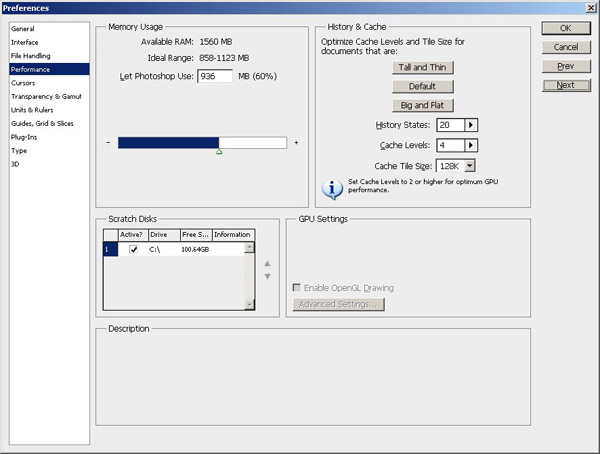
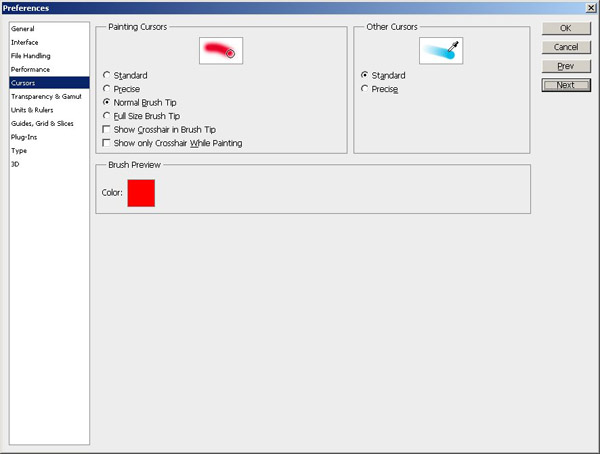
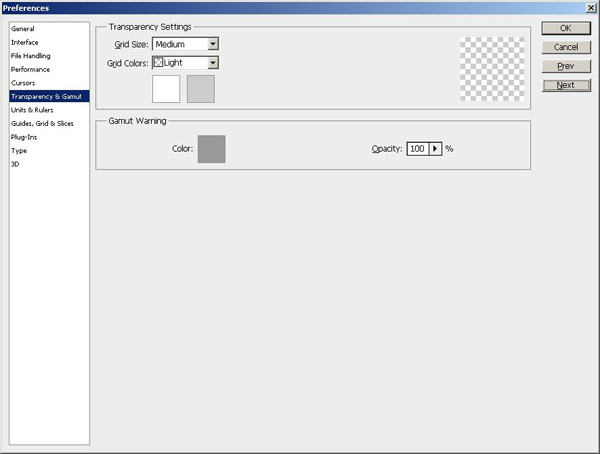
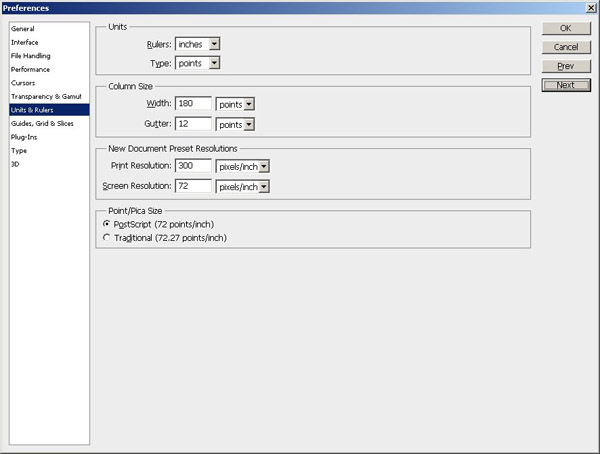
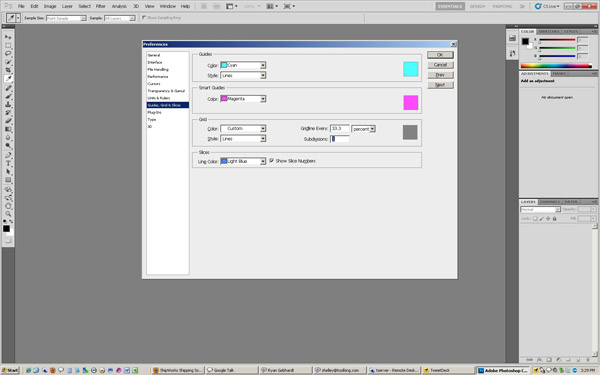
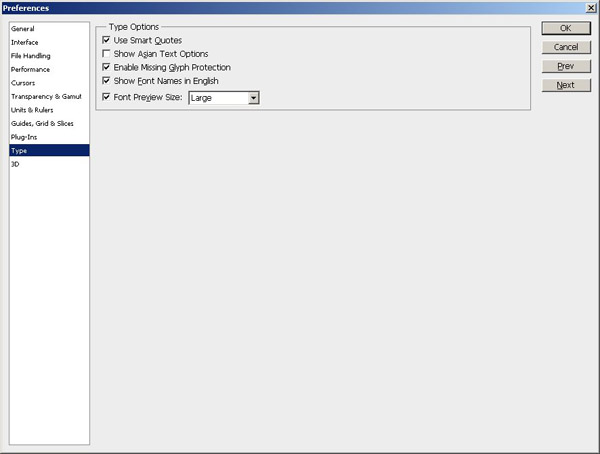
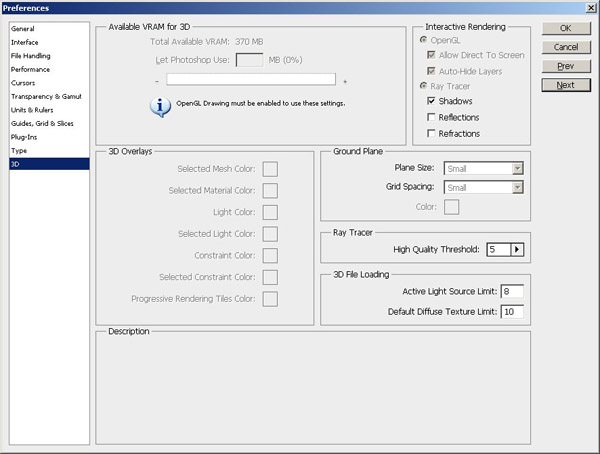
4. System settings – Unlike e-mail, some settings and preferences don’t stay with you during the course of a migration. So, it’s often helpful to grab screen captures of various setup windows so that you can get things configured just right once you get in your new digs! Here are the 11 screens you may want to capture before un-installing off any computer:


As you can tell, there’s a lot to consider. And, given the length of this post already with the included screen captures, to make things easier in terms of reference information, I’ve put together a step-by-step procedure to migrate Photoshop from one computer to another that you can download for free! Enjoy!
Happy shooting and we’ll see you back here again tomorrow!


