Free advertising from me today…

Being in Colorado, I am always one of the first to read the latest blogs for the day because East Coasters usually set their publish time to somewhere between midnight and 2am, which means between 10pm and midnight my time, I can catch up on all the news that is going to hit in the morning.  (California folks got me beat by an hour…)

So, when Scott Kelby’s blog went live a while ago, he was encouraging people to join the Kelby Training website with a video teaser compiled by his chief video guru, Jason Scrivner.  It’s a pretty funny video teaser, but did pique my interest enough to stop over and see how much time was involved in the new video.

Continue reading “Free advertising from me today…”

Problems with Triggers

As mentioned yesterday, the example self-portrait I took had some misleading EXIF data.  The thrust of the post was that EXIF data isn’t always right, and if you read through the comments, you’ll find out most of what was wrong (this is one sharp reading audience – y’all don’t miss a beat! 🙂 ).

What was most glaring though was that the radio trigger didn’t report itself to the EXIF data.  I’d noticed this in the past from the Cactus triggers when I first purchased them.  It could be due to the economical nature of the cirtuitry (i.e. they weren’t very expensive).  Or it could be due to the very nature of the devices themselves.  I’m not sure as I’ve not had a chance yet to test the heftier devices like Radio Poppers, Cybersyncs, and of course, the mecca Pocketwizards!

Here’s the part where the reading audience is more than welcome to chime in!  Do you own any of the above devices?  If so, which ones?  And of course, do they report to the EXIF data in your photos?  Last, but not least – how regularly do they report?  Because one of the things that is very useful in reproducing images (the very mark of a professional) is looking at flash data from one shot so you can repeat those settings again if needed.  So, in this vein, I am not happy with the Cactus Infinity triggers.  Yes, I got what I paid for, and they work well enough for their purpose…but I feel I am starting to outgrow them even more.  Guess it’s time to pony up, eh?  Only question is – to what?

Already, some questions are coming in about what kind of lighting was used, what the lighting EXIF was, and several have also asked about the background – some things I had a feeling would come up, so thanks to all sending in email asking for more details…much more is coming!  I promise!

In the meantime, take a break (or a photo) and enjoy the weekend.  For those of us in the U.S., remember, Memorial Day isn’t just a day of baseball, hot dogs and beer – it’s also a day to remember the fallen heroes that died defending our country…

U.S. Flag
In honor of Memorial Day

The Beauty of Bokeh Revisited

I know – the blog has not gotten much attention lately.  My apologies – but after the job loss, and pounding the pavement, my schedule has tightened up considerably, so the “planned posts” have pretty much been exhausted as I let myself get behind.  The good news is that with several opportunities on the horizon, I am a little less stressed about “real world” economics, and can dedicate some time back to the blog.  A few items of note:

#1 – The Year End Blowout Bash is underway – and LDP/Canon Blogger is giving away a ton of goodies.  I posted details about this last week, but in the interests of giving it a little more “face time”, I would encourage everyone to start thinking about their “giving” themed photos – could mean some seriously cool prizes coming your way to start the new year off right!  More details on the prize package and such here:

#2 – The 3rd edition of the LDP Newsletter is forthcoming – with some little known tidbits about the guests on most recent podcasts, including nuggets from David DuChemin and Andie Smith, as well as the monthly roundup, great quotes and christmas/holiday ideas for the photo buff in all of us.

#3 – With many things under way both professionally and personally for this time of year – the posting schedule that I had been adhering to for most of the year (hardware, software review, composition, podcast, etc.) is likely not going to be followed as strictly as things will be done more on a “catch as catch can” sort of thing.  If you like tuning in for one thing or another – keep on reading because the stuff you like will be there, just maybe not on the schedule you are accustomed to.

#4 – Last up, I’d like to point out that the donations tab is still active, and all are welcome to contribute via that conduit – but in the interests of getting some tangible things back to the reader and listeners that have been so encouraging, I am going to be coming out with some short eBooks (5-10 pages max) and there is a new link for the website to bookmark for that content:  https://canonblogger.com/store  While I am getting a fairly good idea of things readers and listeners would like to see/hear, feel free to send in questions, comments, suggestions and the like for store content as I am open to input.

So, with the vegetables out of the way, I’d like to delve into the “meat and ‘taters” segment of today’s post and that lies in the title:  bokeh

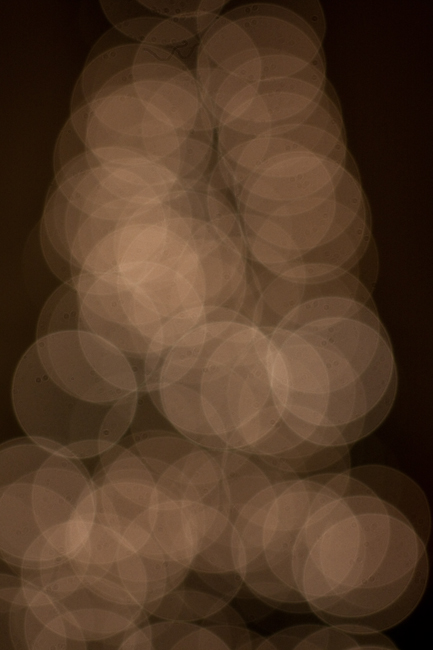
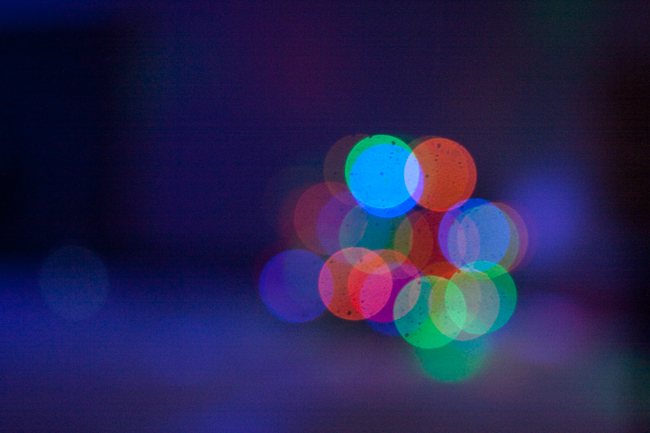
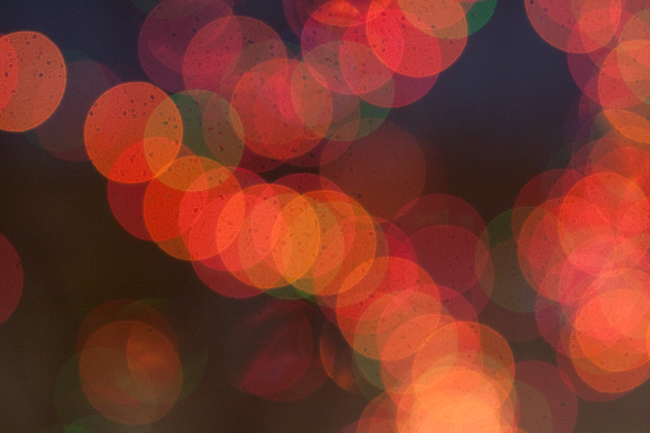
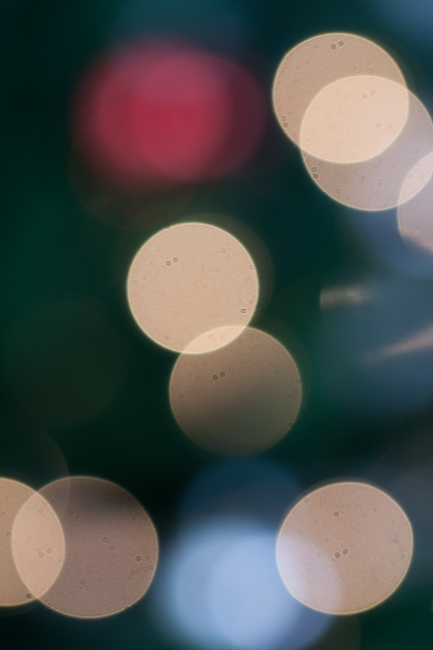
For those of you that may not be aware, bokeh refers to the blurred portions that are out of focus behind your subject matter.  The quality and nature of that out of focus portion can really enhance a photo, and can even become the subject matter itself when looked at creatively.  Now, I‘ve talked here on the blog about bokeh in the past, but in the spirit of the holidays, I thought it would be fun to share some samples of images where I actually forced the entire scene out of focus, to basically make the bokeh the subject:

The Beauty of Bokeh #1

The Beauty of Bokeh #2

The Beauty of Bokeh #3

The Beauty of Bokeh #4

The Beauty of Bokeh #5

As the samples show, you can make some pretty fun use of blur and bokeh.  Shapes lend themselves well, and varieties in colors, as well as monochromes too.  Another thing – when getting bokeh and blur – don’t worry too much about noise and crank the ISO if need be – it’s all about your creative mind.  You can remove noise if you must, but the idea is to capture something in a new way and getting bokeh this time of year specifically can be a lot of fun.  A few suggestions though:

    1. Look for shapes, as suggesting what the subject might really be can catch visual interest by teasing the eye – you know what it is by the shape…
    2. Look for light, because without much variation in light or bright spots, the bokeh will end up looking like just some smudges of a limited tonal range
    3. Use your best lens(es) as these produce softer bokeh – less angular edges, and more rounded or smooth textures, which is usually better for bokeh (“better for bokeh”, did I just say that?)
  1. Shoot wide open, then switch to manual focus and intentionally blur – push the lens further out of focus for variations on your bokeh elements.   Watch what happens and adjust to taste.

So, there’s a few ideas for you – there could be an eBook coming out on this later with more samples and suggestions so let me know if this whets your appetite.  Do you like the idea?  Want to see more?  Get more tips on shooting for the abstract?  Do the photos above help or hurt the idea?  Do you like them or think there are better samples?  Got any of your own?  Feel free to post links to your own libraries of bokeh and blur for everyone to enjoy – there might even be a newsletter mention in it for ya! 🙂

That’s gonna do it for today – coming up later this week, the aforementioned newsletter, another podcast, and much more, so keep on shooting, until then, may your batteries be charged and your memory cards filled with lots of photos this holiday season.  Now get out there and shoot ya some! 🙂

Show Notes for Episode #28

No cheeky title today, just a straight up informational one because the podcast was a super long one with all the news, interview time, and listener Q&A so I’ll stick to the meat and potatoes.

  1. On the Photo News Beat
    1. Canon Announces Hybrid IS technology
    2. Stock Exchange joins Getty Images
    3. Think Tank Photo Announces a New Bag System
    4. OnOne Software expecting to release a Remote Capture update soon
  2. LDP/CB Notes
    1. The OnOne Software Plugin Suite Ends Friday – last chance to get your best image in the Numbers Contest
    2. The August Prize is announced:  A Bamboo Fun, courtesy from the folks at Wacom
    3. Exposure Denver Photo Club
  3. Interview With Matt Timmons – MTM Studios
  4. Listener Q&A
    1. The Sony A100 DO Range Optimizer – Bog Segrell from NJ
    2. Martini Memory Lighting Setup? – Alistair M from New Zealand
    3. Where do you get the EOS Digital Capture from Canon? – George Maskaly from Nevada

Here’s links, as promised for the show notes to for those coming over from either PLM or iTunes.  Please let me know if I missed any (it’s getting late here)…

A last little bit of blog news – closing in on 2 yrs, 500 posts, and 1000 feeds – I don’t know how this ever happened, but there’s definitely going to be some prizes coming soon in celebration and to say thanks to all the loyal, faithful readers and listeners!  I teased the date a few days ago on Twitter so if you’re not on Twitter, get there for extra added value too! Happy Shooting All, and we’ll see you back here again tomorrow!

Grab the Feed

Painting with Light

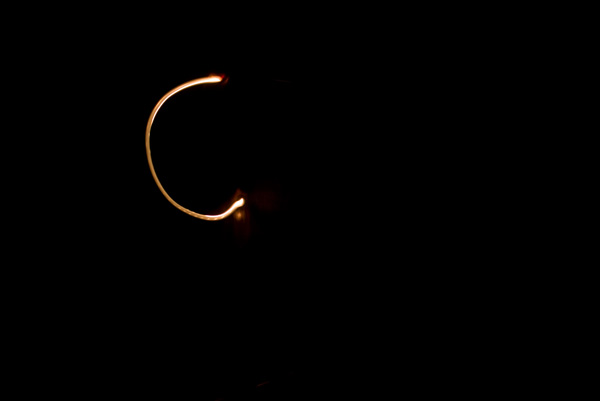
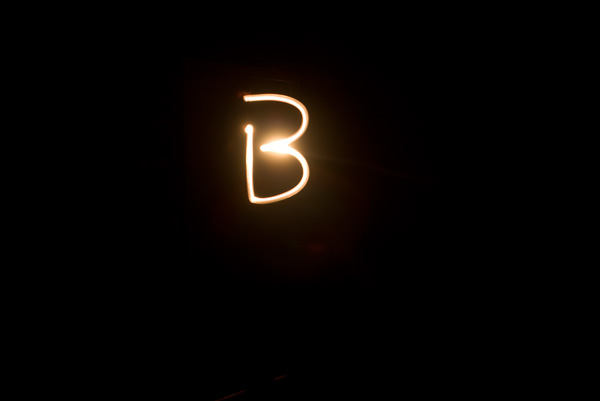
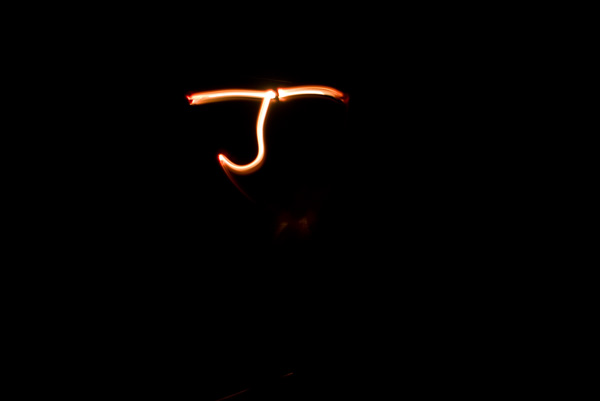
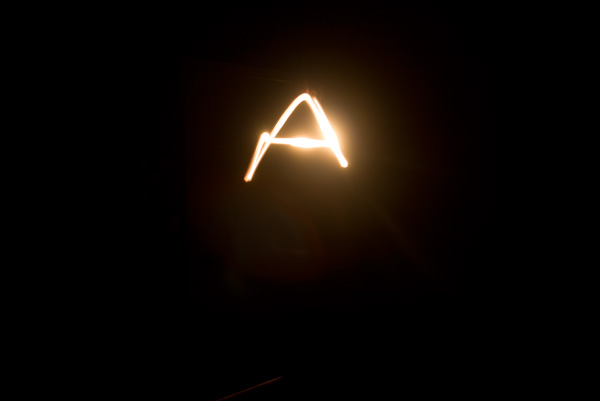
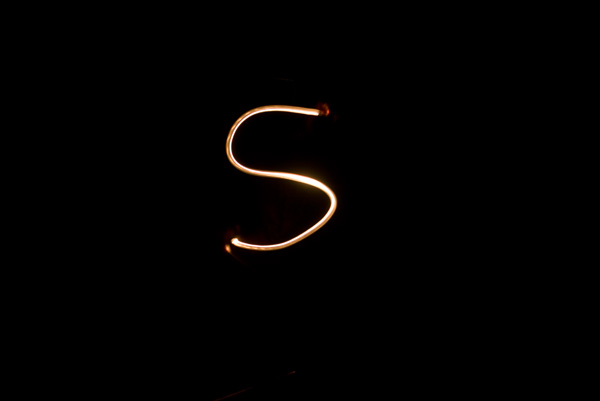
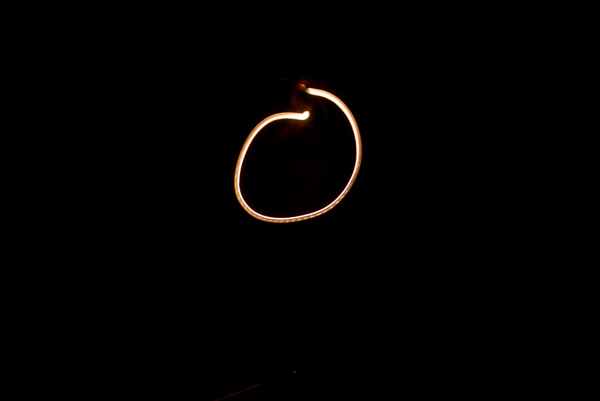
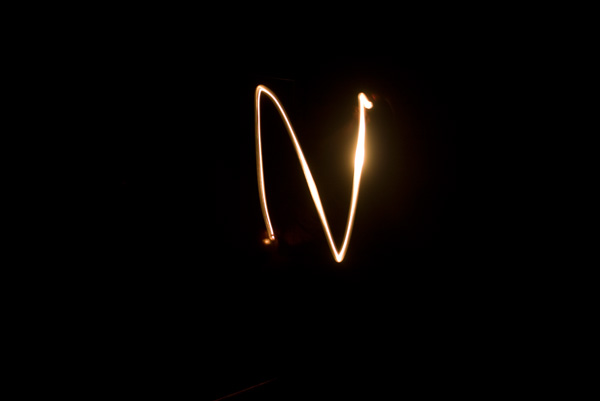
About a year ago, Joe McNally gave a talk at Google where he referenced the roots of the word photography.  The two roots are photo and graphos, and the meanings are light and write.  We so often hear of people “painting with light”, and after seeing a few people demonstrating how they use flashlights to paint and write with light, I thought it might be fun to give it a whirl.  So, I set up in my den/basement room/office/man cave with the camera on a tripod and went about the goal of writing with light.

To set the scene, I put the camera on it’s lowest aperture for the lens (f3.5), and this way everything around would get thrown out of focus.  I set the shutter to 5 seconds, and the ISO to 100.  That way I would have enough time to draw each letter, and produce little noise as possible.

Next was to set a point of focus – enter my light stand as a model.  I set the focus on that (about 6 feet away), and then switched to manual focus on the lens so the point wouldn’t change.  Next step – mark the floor so I know where to stand (anything works – for me it was a USB flash drive).  Finally, I moved the light stand out of the way and started to eliminate other sources of light, as  I also wanted the surroundings to be completely dark.  So I turned off the computer (monitors give off an amazing amount of light, closed the blinds (even at night, street lights can push stray light into your image), and shut the door to the room.  Working off the handheld flashlight now, I changed the camera to start on a 10 second delay to give me time to get into position.

_mg_0354

_mg_0355

_mg_0352

_mg_0356

_mg_0360

_mg_0361

_mg_0362

The rest is in the post processing.  Since I was in the middle of re-installing Windows and freshening things up last night, I’ve not had time to composite these together, but you get the idea of where I am heading!  Give it a try yourself – painting with light can be fun!  Have a great weekend everyone, happy shooting and we’ll see you back here Monday morning!

Impact Lightstand – Hardware Review

This week’s hardware review is the Sigma Lightstand.  Specifically, the Impact 8 foot Air Cushion Lightstand.  While you may think that this is something that wouldn’t garner much discussion – I actually have found this to be a very handy tool.  “Tool?”, you ask.  Yes, a tool.  Sure, it’s primary function is to hold lights, but look at the variety even there – I’ve used it for small flashes (like my 550 EX II), studio strobes from Smith Victor, and water bags.

Lest you do a double take, that’s right, I used it along with a makeshift boom (arm that extends out to the side) to hold a water bag for a photo project.  The point is, light stands, like tripods, can function in a wide variety of capacities.   While I tend to shy away from making generalizations because I know my own gear experiences are unique, for me the biggest difference between a light stand and a tripod is weight and stability – light stands seem much lighter and aren’t as stable.  I am sure there are some high end light stands that provide excellent stability and can weigh a decent amount, but this one that I use is pretty light:

lightstand

I’ve linked the photo to the item at B&H (Item #IMLS8AQ  ) for those that want all the detailed specs, but here’s my two cents.

Pros:

  • Weight – these things are super light, and very easy to move around.  I could literally pick one of these up with one finger.
  • Extension – this basic model extends up to eight feet tall and compresses down into a shade under 3 feet.
  • Cost – very inexpensive, running a mere $35 from B&H Photo – small price to pay for an assistant
  • Size – this collapses down so small, I can fit my tripod, my monopod, umbrella, and this all in an over-the-shoulder bag!  Compactness is a plus, especially when travelling!
  • Functionality – aside from the obvious funtion of holding lights of various sizes, with a small clamp, you could hold pretty much anything from lights to grey cards to reflectors, to booms with water bags.  Heck, you can even jury-rig something from your garage or storage shed to make this guy hold pretty much anything for you.  So much for the photo assistant, eh?

Cons

  • Weight – yep, while a pro, it’s also a con – because they are so light, the can get easily bumped out of position or knocked over.  While using it with the boom/water bag for a weekend project, I bumped it ever so slightly with my foot and everything got knocked out of position.  Not by much, but when your DOF is a mere quarter of an inch and you are zoomed in tight on a water drop, one little bump requires re-setting everything from scratch again!
  • Workmanship – I was rather disappointed when I was going to pull out one of the extensions one day when the whole top pulled off the bottom legs.  It seems the nuts that are used to anchor legs and extensions into position weren’t tightened down all the way and as a result, a firm yank can pull it off the assembly.  Then, when I went to tighten it back down – the plastic collar that the screw/net combo fits through cracked on me.  *Sigh* Ah well – it still works, and I just have to make a mental note not to pull on the extension too roughly as the top will pop off.  But, what do you expect for $35?

Bottom line – I’d recommend this for people needed an extra set of hands from time to time.  If you are into off camera lighting (and after Wednesday, you should be!), then a light stand is a must – and this is a great entry level one that will fit your needs indefinitely, because even if you upgrade, an extra set of hands is just a few seconds away.

That’s it for today – make sure you stop in tomorrow for the next installment of software reviews!  Happy shooting and see you then!

Say Cheese?

Ever wonder why we’ve heard photographers say that when taking your picture?  Think about what happens when you do – your facial features open up, your mouth opens slightly, and you get a little upward curvature in the corners of your lips.  (Unless of course you concentrate on specifically not doing that.)  Whoever thought this up eons ago was well ahead of the curve, because knowing how to take good portraiture encompasses entire volumes of books on the subject.

Volumes exist on what lenses to use, how to light, depth of fieldand much much more, but perhaps the most valuable information on how to take great portraits comes not just from technical awareness, but from personal interactions, and how to get people to act natural yet emotive and to let that come through in your work.  While no blog post could entirely exhaust the subject, here are ten quick tips on taking better portraits:

  1. Establish a connection – portraiture is about connecting with someone through the image.  If you don’t connect with them through the camera, then there will be no connection in the print.  Make sure you connect with your subjects in some way.  Get to know about them, because that knowledge can transform your vision into really beautiful works of art.
  2. Relax the subject – Connecting with your subject means they feel comfortable around you – now the key is to get them to feel comfortable in front of the camera.  Many times this is much easier said than done, but when you do get them to relax, the poses will come more fluidly, and you’ll get better results.  One way I do this is to just start taking pictures of things around us as we talk and connect.  The whole idea of hearing the shutter can be scary to some people, so by hearing it almost to excess and know it’s not on them can mitigate the “scary” factor.
  3. Choose a background – if you are in a studio environment, this is fairly easy, but if you are on location, keep your eyes out for backgrounds that provide contrast to the subject.  Are they wearing light clothes?  Look for a dark background.  What about props to give a little more meaning.  Are they sports fans?  Have them hold a football, or stand by a basketball hoop.  Backgrounds can help give more definition to your subject.
  4. Have a purpose – try to think of reasons why you are taking the picture.  Is it to record an event, or is it for a model?  What about a head shot for a business executive?  If you think of why you are taking the picture in the first place, that can help give you ideas for how to compose it.  For the event, it’s about the moment, while the portrait it’s about just the person, so give some thought to how to enhance their best qualities and minimize flaws.
  5. Create separation – this is crucial to giving definition to your subject while minimizing distractions.  In the on-location areas, look out for things like power lines, nearby light sources and other objects that may detract from the subject.  Here it also helps to keep a wider aperture so that any distractions can be effectively blurred out of focus to minimize their impact.
  6. All about the angles – Some people have great profiles.  Striking features can be accented from certain angles and can give greater impact and meaning.  Shooting from below can suggest power and strength (for the business executive), while shooting from above can minimize a body style that is more robust.  Even profile shots can be stunning if done right (hint:  try shadows there).
  7. Lights, lights, lights – photography is all about painting with light, so portraiture is no exception.  Whether it be modifying existing light with reflectors, diffusers and shoot throughs, or creating your own light with strobes and flashes positioned off to the side or from above, lighting can create a wide variety of moods and bring images to life, especially in portraiture!
  8. Watch the eyes – for any subject, whether human or animals, we like to have the eyes in focus.  It’s just the nature of people to look at the eyes in a subject, so make sure the eyes of yours are tack sharp.  Seeing a persons eyes have often been said to be a mirror to their soul.  You can get playful eyes, soulful eyes, sad eyes, sparkling eyes, weepy eyes, tear-stained eyes, angry eyes, hungry eyes, passionate eyes… (you get the eye-dea!)
  9. Clean that skin tone – this means make sure that you are keeping the tones in check.  If the skin is too orange or too blue, add or remove some flash or ambient light.  Here the key is in white balancing your images.  Take along a grey card (even something as small as a 3×5 card can work) and you can set your white balance off that – your skin tones will be spot on if you do – and save you tons of post processing time.
  10. Less is not always more – let’s all just admit it, it’s a digital world.  Those pictures are really just data packets and with data being as cheap as it is, we can afford to take more shots.  This can help with blinkers, and if you want to try several poses or wardrobe changes, or lighting changes, or location changes, or group changes (think weddings). or weather changes (think sunlight versus rain, versus cloudy), or….I think the gist is clear again here.

So, there’s ten nuggets.  I tried to be brief yet have some detail, but you can never have enough time or space to really cover something with so much to talk about in a short blog post.  With that in mind, what about your thoughts on portraiture?  Add to the pool!  Got any ideas, DIY tricks or nuggets that work for you?  Share them in the comments or via email.

Before signing out for the day, I’d like to give some special thanks to a few people.  First to Derrick Story for the helpful link from his blog post today about the tethered shooting write-up.  It’s always nice to get what I like to call “a nod from the Gods”, but not only did he write a post about my write-up, he also submitted it to the Imaging Insider, who subsequently included the write up on their site.    Second up, I’d also like to throw some NAPP-Love back to Karen from “Pursuing Photoshop” (a.k.a. Mitzs in the blogosphere, also a member of NAPP) for her link back to the Adobe Photoshop Lightroom contest currently running here on the blog – thanks Mitzs!

Oh yeah, and finally, don’t forget the Photoshop Lightroom contest I announced in last week’s podcast – it’s running over in a thread on Flickr, and the images are starting to come in.  Some really nice ones so far, but there’s plenty of time left in May to enter!  Good luck to everyone!  Well, enough content for one day, so happy shooting and we’ll see you back here tomorrow.

Cactus, Trigger, Zebra, Oh My!

Remember the old game of password where you said a related word to one on your card to get your partner to guess it?  Well, here goes:  What do the words cactus, trigger, and zebra all have in common?  If you answered “flash photography” you’d be right!  As you may have realized, that does mean that the podcast will not come out today – I simply didn’t have time to get all my thoughts and notes together.  So instead, here’s a review of sorts that I did just earlier this evening.

A while back I decided to ditch the Canon ST-E2 wireless trigger for a number of reasons – those being:

  1. It relied on line-of-sight
  2. It didn’t have a very good range
  3. It wouldn’t work with non-Canon gear

I, like many others, have been salivating over the new developments in radio trigger technology.  And, at my last job, I had access to multiple lights, strobes, and such for experimentation.  So, in order to do said experimentation, I decided to invest in some Cactus Triggers that I purchased off an online web vendor (I forget the vendor off the top of my head – search the archives and I am sure it’s there…).  Much to my chagrin though, it would not work with my Canon 550EX flash.  So, when I left my previous job, it was back to the ST-E2.  In order to spur some motivation to invest in some more serious lighting gear on my own, I decided to sell the ST-E2 to fund the purchase of some Cyber Syncs.

Long story short, I ended up with no off-camera method to trigger my one flash unit.  So, I was back on-camera.  Needless to say, ambient light photography was a large focus for that time period.  Well, after the economy stabilized a little for the household with my state job, I decided to invest in the Cyber Syncs – but as a measure of insurance, wanted to make sure the devices would work in my 550EX (the 550EX does not have a sync port).  So, a quick email to them revealed that a neat little device from the folks over at Flash Zebra would make the Cyber Syncs compatible.  A mere $14 later and the device arrived late last week (while I was in SC).  So, next month the Cyber Syncs will be making their way to my doorstep.

In the meantime, I have these Cactus triggers, and I thought with the inclusion of a sync port, perhaps I could jerry-rig something together.  With the sync port going out to what looks to be an RC-mini, and the receiver also going out to an RC-mini, I needed a way to join two RC-mini’s together.  A quick dig through my various buckets of cables and connectors revealed a dual mini that is normally used to connect to headphones to a single audio.  Worth a shot, since it’s only about $50 total invested.  I connected everything together to get this:
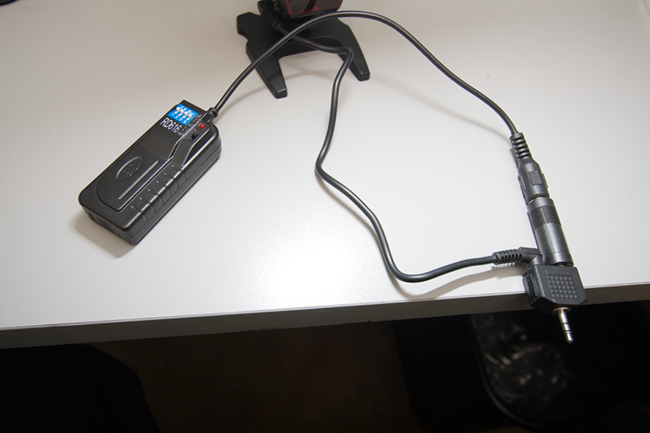
lightcables

On your left is the trigger that came from Cactus, to the RC male.  A reducer on that took it to an RC-mini male.  In the center is the well-hidden PC-sync device that came from Flash Zebra.  (For a better picture, see below…)  A female sync port on that was able to connect to the male sync port that was included with my Cactus gear.  That also went to an RC-mini male.  These are both connected on the right to the y-connector that you would typically see two headsets connect to the same audio source.  The technology is the same, so it’s worth a shot right?  (No pun intended…)

I fired off a test shot from the 40D and it worked!  So, how well would it work?  What kind of reliability would there be?  I took the flash into the next room and fired the trigger from a further distance away…about 20 feet.  Flash!  Then I took the trigger around the corner and fired it.  Flash!  How cool is that?  Another set of tests was needed.  One where radio waves wouldn’t bounce all over the place – outside!  If you recall, I interviewed Scott Eccleston from Weekly Photo Tips a while back, and a recent post of his armed me with a good testing method of the Cactus triggers.  Armed with the inspiration of this video, I enlisted the aid of my wife and took to the great outdoors.

I began with a fresh set of batteries in both the trigger and receiver, as well as the flash.  Starting from ten steps away from the flash, I tripped the shutter – flash!  Twenty paces – flash!  Thirty paces – flash!  Fourty paces – nada.  Hmmm…tried again – nada.  So, I moved back to 35 paces – still nada.  A couple steps closer and it flashed again.  About four more tests at this distance and I had 100% flash rate.  Starting back to my wife, I counted the paces, 1-2-3… all the way to 33 paces.  At an average gait of 3 feet per pace, that’s an outside range of 99 feet!  Considerably better than the ST-E2 and at a third of the price!

For posterity’ sake, and since I am in a very casual way reviewing the PC-sync adaptor from Flash Zebra, here’s a better shot of just that device.
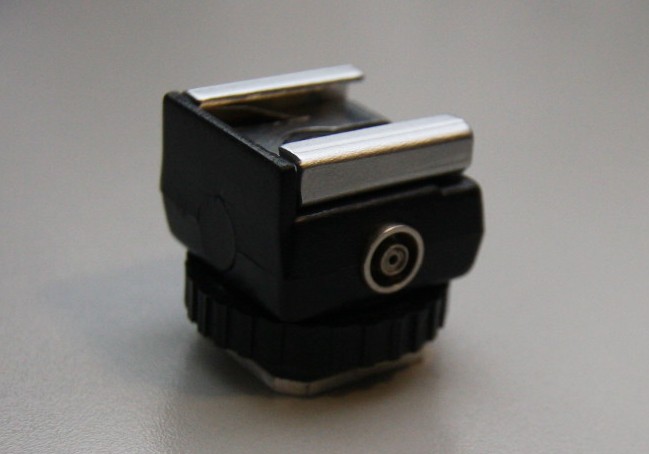
zebra

Also for posterity sake, here’s a view of the trigger that attached to the hot shoe of the 550EX:
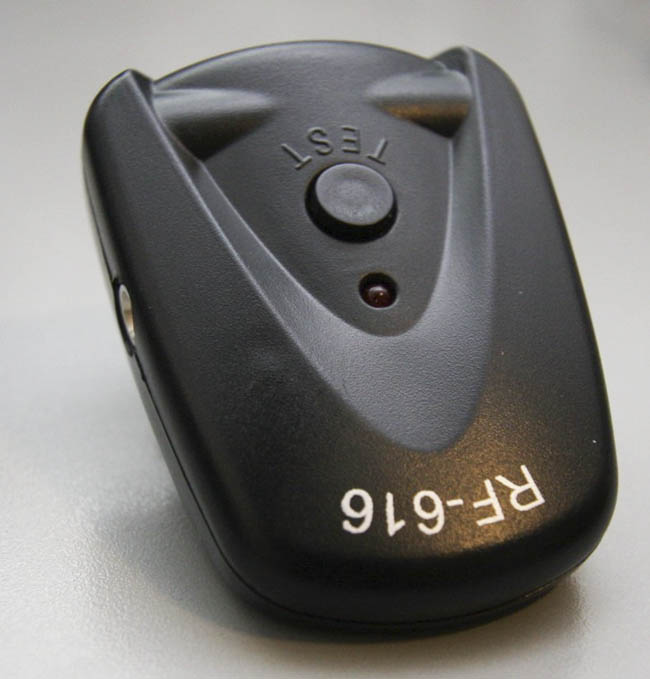
trigger2

Artist Statement Appeal – the power of the pen

On this weeks show, I take a look at the power of the pen – the artist statement.  For those of us with aspirations of sharing our work with others via art shows, galleries, and contests/competitions, the value of the artist statement can make the difference between getting into a show, gallery or other event and buying a ticket.  So, if you want to learn what the artist statement is, how to write one, and things to consider, this is the show for you.  Here’s the show notes:

Another news item I forgot to mention in the podcast is an upcoming web seminar series for photographers, free, from Adobe.  Here’s the dates:

  • Photoshop: April 23rd
  • Lightroom: April 9th and May 7th
  • Both: May 14th

Link for more info and to register is here

Make sure you stop in and grab the podcast from the good folks over at Personal Life Media, and visit our show sponsor Lensbaby if you are thinking about the Lensbaby Composer.  Diggs from PLM and reviews from iTunes are encouraged, welcomed, and appreciated!  Happy shooting all and we’ll see you back here tomorrow!  🙂

Don’t forget, you can email me from the show link with any questions, comments, feedback or thoughts, as well as share comments here, and reviews on iTunes.  For those without iTunes or Zune, I can provide an mp3 version of the show on request.

Come on Ride the Train

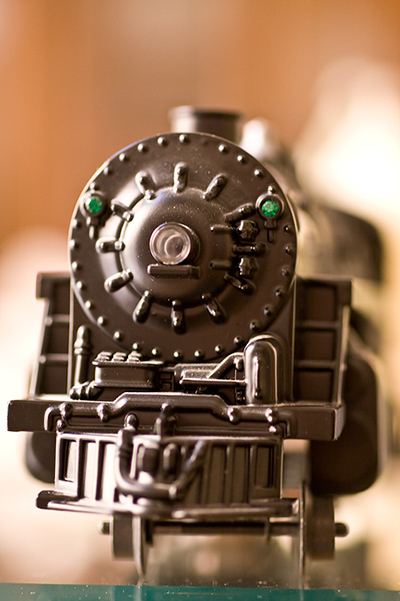
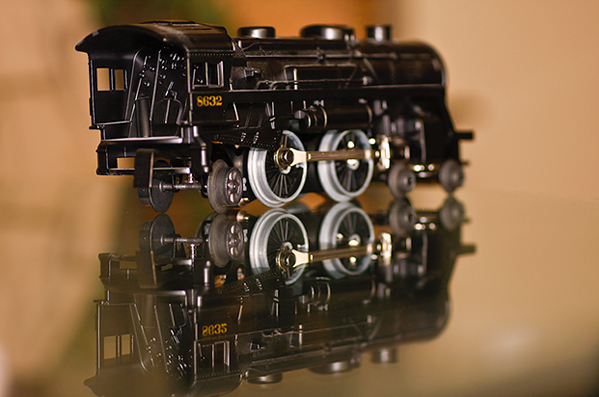
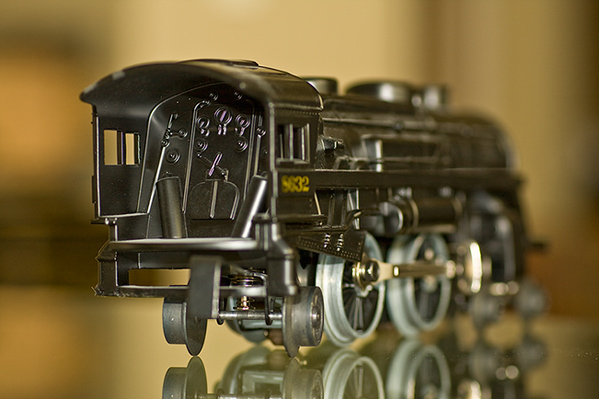
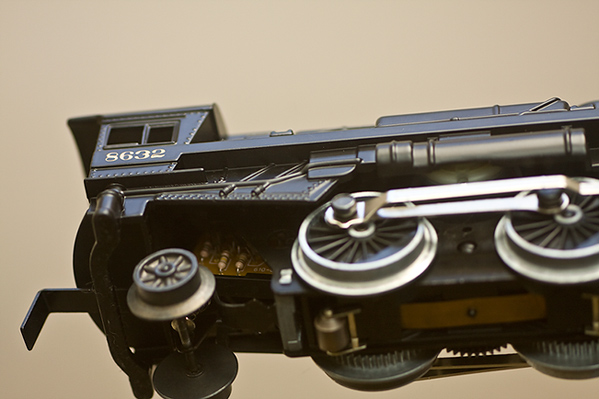
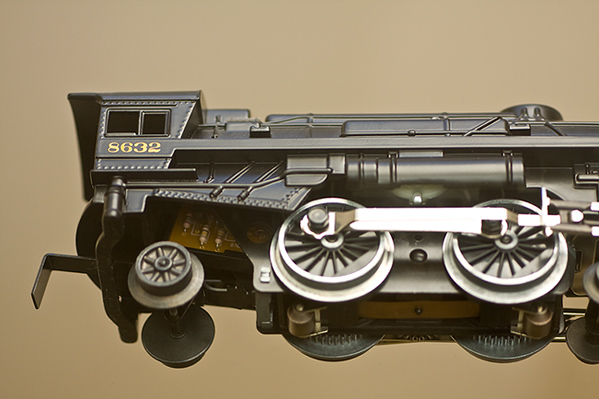
It’s somewhat fitting this week that yours truly is making serious use of the mass transit in Denver because a project that has finally come to fruition is a photo-themed shoot of trains.  I’ve always found them quite interesting, and only recently did I come into possession of a very high quality model train to pose as I desired for specific types of compositional and focal impressions.  Since the podcast isn’t quite finished, I figured now would be as good a time as any to share with you a sampling of my Train project…

_mg_8969

_mg_8959

_mg_8964

_mg_8966

_mg_8967

So, there’s the “Train Series”.  I tried various lighting scenarios, depth of field, and compositional approaches to see the effect each has.  I know which one(s) I like the best – what about you?  Any favorites, thoughts, feedback, criqitues?  What about your own themed projects?  Any sources of inspiration?  feel free to share them in the comments section!   Happy shooting, and we’ll see you back here tomorrow!