Portrait Lighting Basics – Part Two

Previously on the blog, I took a look at various lighting positions and their impact on portrait lighting.  We looked at scenarios where the light is in front of, behind, and off to an angle on our subject. Check out the photos and results here.  Now that we’ve found the best position in that regard, it’s also helpful to consider the angle of the light.  Will it be better coming from below, at eye level, or above the subject?  Some of the things we’ll look at include the quality of light, amount of shadows, and even catchlights in the eyes.

Let’s start with the light coming from the lower angle:
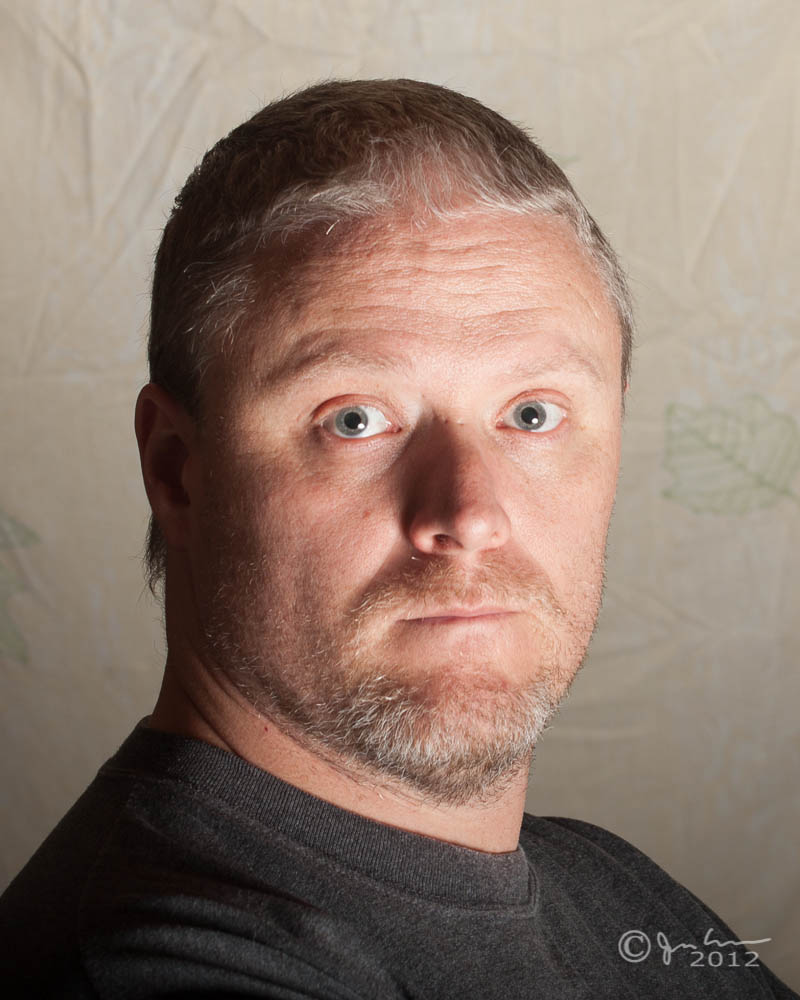
See how the quality of light hitting my face looks really nice, but there are some pretty substantial shadows as the light trails off to camera left.  Shadows are not necessarily a bad thing, depending on what it is you want to accomplish, but it’s worth noting the degree of shadow when lighting from a lower angle.  Last but not least, look at where the catchlight is hitting my eyes.  This reveals the location of the light, but also gives a little bit of added interest to any portrait.

Next up, let’s see what happens when we move the light to at eye level:
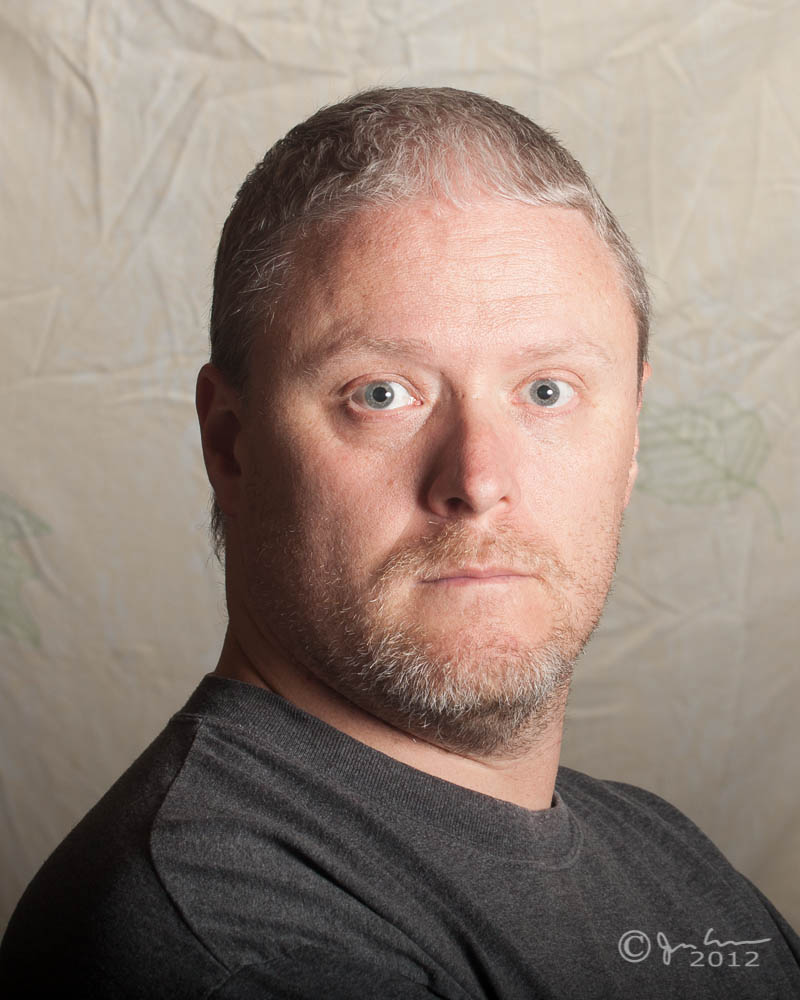
Here, the light is able to wrap around and reduce a bit of the shadows on the backside.  This may have to do with the fact that there are some white cubboards behind me in the garage/studio too, but this is a known behavior of light spilling over from this angle.  Note also that the catchlight is now near the middle of my eyes, but off to camera right.

Finally, let’s take a look at the results when lighting from above:

Here, the shadows are also lessened due to light spill, and the catchlight is also re-positioned.  Note that in all the setup shots I am using ETTL and not really dialing in the light at all, so in all scenarios the quality of light is a bit harsh for my own tastes.  Discussing ETTL versus manual settings is a separate discussion though, and here I just want to help illustrate what happens to portraits when you start moving lights around.

 Which setup do you like best?  Does the quality of light change for you?  What about the catchlights?  Make sure to subscribe for future articles just like this one on learning the fundamentals of lighting!

Portrait Lighting Basics – Part One

When it comes to photography and lighting, so many are immediately put off that they go running off into the night, panicking unnecessarily.  Previously on the blog I had talked about how to set up a flash with an umbrella, and five things to be aware of.  You can read those herehereherehere, and here.

Now that we know how to set up our lights, it’s time to take a look at where to position our lights. You have a couple choices: directly in front, off to one side, or behind your subject.  We can talk about this until the cows come home, but it always is easier to show than to tell, so let’s take a look at each!

Here’s what happens when you put your light directly in front of your subject:

See how everything looks kind of washed out?  It’s not very flattering, so maybe we can move the light behind our subject and things will look a little better…after all, this isn’t really very good, right?

Here’s what it looks like when you put your light behind your subject:

Well, this is kind of interesting – putting your light behind your subject produces a nice little rim around the edge, but there is nothing but shadow in front.  Kind of hard to see details in the subject’s face.  Probably not good as a single light source solution.  Let’s try off to the side and see what happens.

Shooting Shadows

Most of the time the subject of the a photo is easy to see – whether it’s a portrait, landscape, travel, or architecture. While these subjects are easy to identify, the use of shadows in these topics is not discussed as often as it should be.  We spend so much time trying to get the lit portion of our images in focus, composed to our satisfaction, making sure things are sharp, and all the rest, we sometimes miss the value of shadows in our imagery.

Boat Mast in Shadows

The shadows of an image can be just as important to the composition as the lit parts are.  When talking about how to light images with strobes and studio lights, the use of shadows to give definition is often discussed, but the same discussions can be germane to naturally lit photos too.  Remember, the word photography means to paint with light (photo and graphos), so even the absence of light can be significant in defining our images.

Subtle Portrait Shadows

Whether you shoot portraiture, architecture, landscapes, or even abstracts, shadows can and do play a role in how you compose your images.  Do you look at the shadows in your images?  What story do shadows tell in your work?

Abstract Shadows

Shadowed Helicopter

Share your own thoughts on how to accomplish a story by shooting with shadows below in the comments – would love to hear others feedback. In the meantime, keep on shooting.

Focus Stacking: A Primer

With all the talk and hooplah over things like dynamic range, HDR, Megapixels, and the latest and greatest bells and whistles in photography, some of the staples in composition are often over-looked.  Focus stacking is one such area.  Most folks kind of look at me quizzically when I bring this topic up, primarily because it is rather niche and unique, but it does rely on principles of composition that have been around for a while.

First off, focus stacking is used mostly in genres like macro photography, where intricate detail is needed across a range wider than what the aperture will allow for during composition.  The principle is much like the layered approach to HDR imagery – where you stack layers of images with different compositions on top of each other and blend the right portions through the entire image.

Where focus stacking differs from HDR is the types of images that you are layering.  In HDR images, you are compositing images with different exposure values over one another.  In focus stacking, you are not changing the exposure values, rather just the point of focus.  As depth of field drops off both in front of and behind your focusing point, the subject will blur.  While this may be an appreciated blurring technique in some cases, in other cases, getting different depths of field from different focusing points can make for a tack sharp macro throughout the range of the subject.

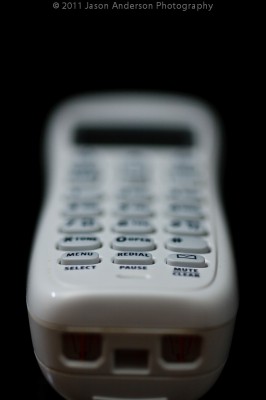
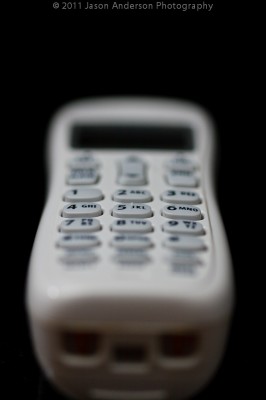
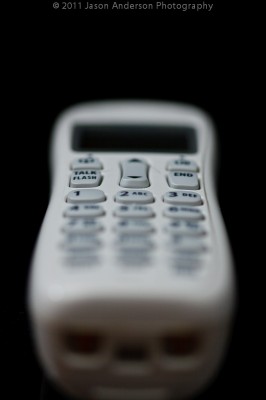
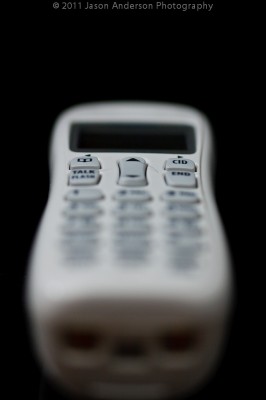
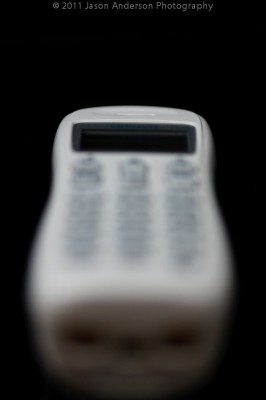
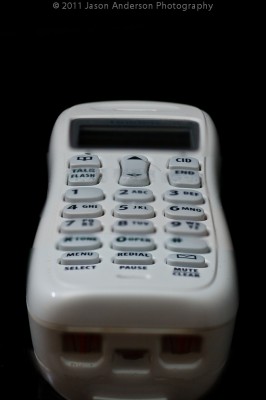
As is most often the case, explaining a photography concept is best done with images, so let’s take a look at an example.  For easy demonstration, I took a white cordless phone and placed it on a black background.  This way color issues are kept to a minimum…

First Focus Point

Notice on the first focusing point, the sharpest point is right near the front?  It also quickly drops off into the background as I was shooting at f2.8  The low aperture number means I will have a very shallow depth of field, which is what is causing the blurred background.  To bring the rest of it into focus, I need to “stack” more shots that have a different point of focus.  So, let’s add another few to the composite:

Second Focus Point

Third Focus Point

Fourth Focus Point

Fifth Focus Point

The end result from stacking all these together can be accomplished by any one of a number of methods ranging from the most time-consuming of doing it manually inside Lightroom or Photoshop, and the most efficient one of using 3rd party software.  While several options do exist, the one that has become pretty much the industry standard is that of Helicon Focus!  Their quality of processing is, bar none, among the best I’ve seen.  More on that likely later this week.

In the meantime, here’s the result of an image that has been focus-stacked:

The Final Result

It’s a quick edit, and done with only having focus-stacked 5 images.  If I wanted a really detailed depth of field on something more important than a cordless phone from circa 1990’s, I’d likely have taken at least 10-15 images and massaged them through Helicon Focus more carefully.  More details on this entire process are coming up later this week, including reviews of the Tether Table (which will be given away this weekend as the March contest comes to an end), Helicon Focus, and the light triggers from Blackbelt Lighting.

For a behind-the-scenes footage video, stop over to the Facebook page!  (Be sure to “like” it and share a comment while you are there…)

Turning Tasks into Photos

I had to bake bread for a work potluck today.  That’s ok, I like cooking, and it seems others do too, because most of the time the dishes I serve are some of the first things to disappear.  I decided last night to do something simple, but often popular:  banana bread!

When it was done, the house sure did smell good from the caramelized sugar, bananas toasting, and who doesn’t like bread?  (I know, I know – lots of carbs aren’t good for you…)  But, every once in a while it’s fun to indulge.  As luck would have it, this particular loaf of bread had some nice colors and tones to it, so naturally, I started thinking about my other hobby – photography!

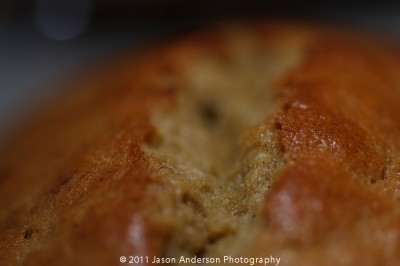
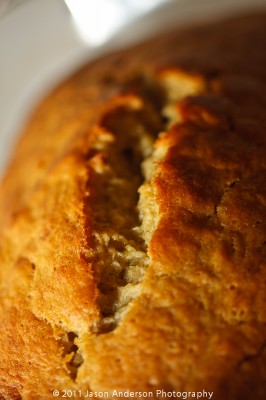
With bread there’s so much you can do from capturing details, to using a shallow depth of field, to creative lighting and shadows, everything becomes a cornucopia of possibilities.  Here’s a few of my selects from just ten minutes of prep, 60 minutes of cook, and ten minutes of shoot time!

Banana Bread 1

Banana Bread 2

Banana Bread 3

Banana Bread 4

Banana Bread 5

Want a slice?  What tasks have you taken and turned them into photo opportunities?  The lesson learned here today (hopefully anyway) is to take something you have to do and make it something you want to do!  In this case, it was a win-win scenario for me, but what about you?  Sound off with your own fun-filled (or food-filling) photo projects!

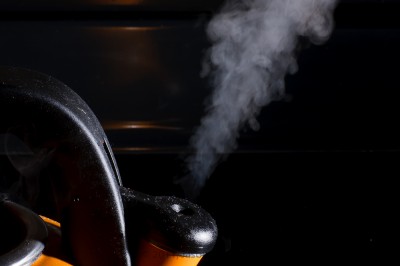
I Am a Teapot!

Nothing too fancy, just a short post today to share a particular “vision” I had.  Hopefully it helps to illustrate that even the mundane can be interesting if you think outside the box!

Teapot

For the inquisitive, this was shot with off-camera flash, using Radiopoppers.  The EXIF data:

Shutter Speed = 1/250th
Aperture = f/18
Focal Length = 70mm
ISO = 100
Flash = 580 EX II

Since EXIF data doesn’t record flash settings, I want to say that this was at 1/4 power, bare bulb (no diffuser, umbrella, bounce or anything like that).  The hint of yellow reflection off the background of the stove is likely due to bounce off the yellow color of the teapot itself onto the black metal on the stove.  It was an unintentional but cool side effect, so I left it in!

As the old saying goes: “Keep on shooting!”

Using On-Camera Flash?

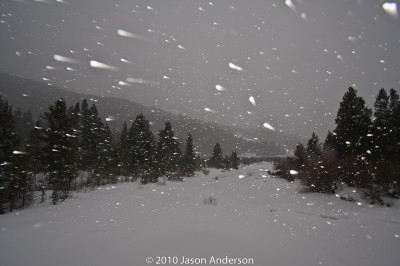
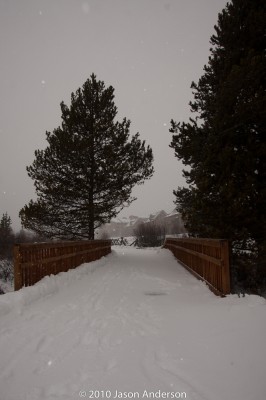
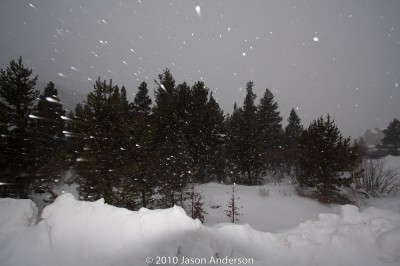
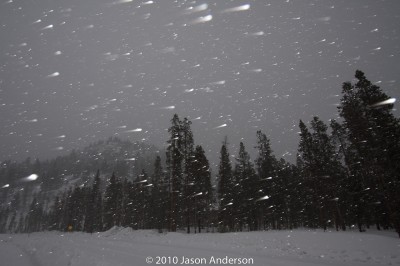
As much as we like to promote moving your flash off-camera, there are times when using that little pop-up flash can be really fun!  One such time can be when it’s snowing outside!  A little wind to help kick things up also helps.  Here’s a few shots I took earlier today on an outing to Keystone, CO when the weather conditions were just about perfect for these fun effects!

Using Flash in the Snow - #1

Using Flash in the Snow - #2

Using Flash in the Snow - #3

Using Flash in the Snow - #4

Now granted, these are nothing that would ever been usable for fine art or stock type work, but it’s always fun to experiment, and this is one such case where on-camera flash works particularly well.  There’s other times when using on-camera built-in flash can also be useful though, so don’t be afraid to experiment.  Where have you had success with on-camera flash?  Share your own thoughts, perspectives and shots in the insight

Natural, Available, or Ambient?

We are probably all familiar enough with the idea that photography is about capturing light as it paints our subjects in various colors, tones, and hues, but recently I am discovering that many are starting to refer to their photographic pursuits in very lofty terms, those being natural light, available light, and ambient light.  I can understand the desire to distinguish ones craft, because it is often difficult to “stand out” in a crowd. Continue reading “Natural, Available, or Ambient?”

Five Ways to Deal with Harsh/Low Lighting

A common question I get here is how to deal with harsh or low light situations.  This is a great question, and for event photographers, it’s simply part of the job to recognize various lighting conditions and address them accordingly.  Today, I’d like to share  Five Ways to Deal with Harsh/Low Lighting:

1.  Cranking the ISO and hoping to fix in post

With advancements in technology, noise handling both in camera and in post production has resulted in some astonishing results that in previous years would have been literally unrecoverable.  While we should always endeavor to make our images shine as best we can in camera – advancements in tools of the trade simply give us more options and we would be foolish not to use them.

Here’s a good example of a shot that was done at a high in-camera ISO setting, that was recoverable to a good quality image.  It may not necessarily be of “stock photography” caliber (you really need every pixel to be perfect for stock photography), but for event photography, I would consider this acceptable quality.

Removing Noise

2.  Implementing additional light sources (Flash, video lights, etc.)

Adding light

3.  Using a tripod/monopod in conjunction with longer exposures to increase odds of sharp captures

Long Shutter Speed

4.  Use a gray card to get good white balance/off-set the ambient lighting conditions.

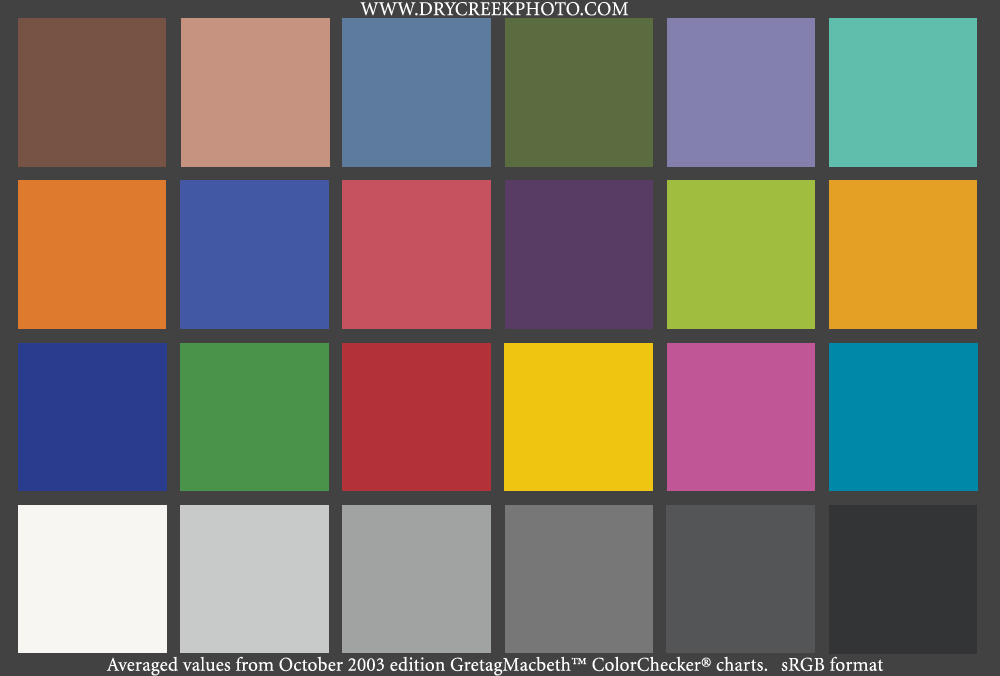
Having your subject hold a color balance card (or even just a gray card) in the scene for one shot is a great way to counter-act the effect of difficult lighting, including everything from halogen lights, to fluorescent, tungsten-florescent mixes, and the garish hue from sodium vapor lights common in locales like stadiums and street light settings.

http://www.drycreekphoto.com/images/Charts/MacbethCC-sRGB.jpg
Gretag Macbeth Color Wheel

Sample Graycard Shot

5.  Use supports from the surroundings to brace your camera

Using a tree, a wall, or even the ground to help stabilize your camera can reduce the shutter speed considerably to help when shooting in low light situations.

Use a wall for support

As much as we may try to hand hold our cameras, blur is unavoidable due to our heartbeats, finger tremors, breathing, and a host of biological factors, the best we can do is help to minimize that blur by using supporting mechanisms and techniques to get as stable a shot as we can.  Even when we can hand-hold, matching that color from the scene is much easier to do when you start from a known vantage point, whether it be your own flash, or a controlled ambient scene.  So much to think about and so little time…where do you want to go from here?

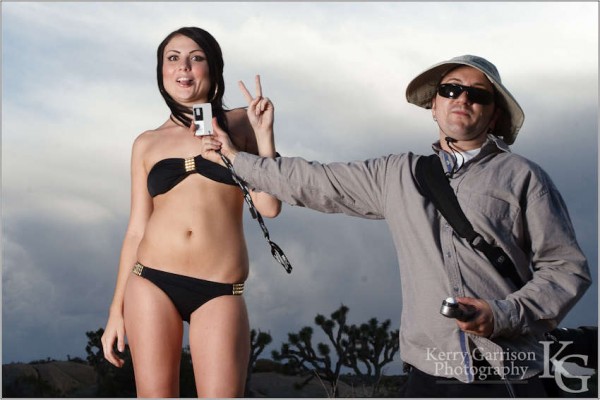
Hint:  Sound off in the comments – would love to hear others thoughts, tips, and tricks for dealing with low and/or harsh lighting! Special thanks to Kerry Garrison of Kerry Garrison Photography for sharing a sample image from his own portfolio when I couldn’t track my own down in the library (bad me for not keywording fully!)…
kL2HNZVO