It’s kind of funny how things go in circles. As a regular reader of the Strobist website (as I am sure many of you are), I found it interesting that David was covering the RayFlash from ExpoImaging and comparing it to other styles of ringflahses over the last couple of days. The reason for my interest – today I am actually going to share with you some thoughts on the RayFlash specifically. Continue reading “Let Me Light the Way”
Category: composition
Don’t Touch that Dial
This week we take a look at the dial on your DSLR – what do they do and is it worth it taking it off the Auto Mode? Or even putting it into the auto mode? What are the benefits? Pros? Cons? There’s thoughts both ways and I’ll look into each and give a few answers on this weeks show. Also on this weeks show, I had the opportunity to talk with Matthew Bamberg, a well-known and respected photographer and author of digital photography books. We had a great chat that you definitely are going to want to tune in to to get some tips tricks and places to go for great photography. Check out the links in the sidebar for his books at Amazon and his website too, over at the hosted version of the podcast with the folks at Personal Life Media.
Lastly, the listener questions and answers, and some contest news rounds out the show too!
- Daguerreotype
- Best Scanners for photography
- Windows 7 – is it for photographers?
Lots to talk about, and a great time all around, including the theme and announcement for the November giveaway! Thanks for tuning in, and don’t forget to “Digg” the podcast over at PLM, or offer a review in iTunes, or even share your comments here on the blog. Where do you put your dial? What do you think of a DSLR in auto mode? Is it good or bad? Did I call it right? Share your thoughts…the listening world wants to know! 🙂 Here’s the web links for stuff we talked about on the show:
Happy shooting everyone and we’ll see you back here tomorrow!
[display_podcast]
Framing your work
Framing your work can be an expensive proposition. Once you get an archival mat, conservation glass, and a custom frame created for your print – you can start spending upwards of $100 for something as small as an 8×10 print. Depending on what it is you want to accomplish though, you could easily be spending as little as $10 per print to mat and frame. Here’s a few things to consider, and some explanations why:
Classics are called classics for a reason – they work!
I like classic looks, and the museum style frame suits that look – a thin black border, simple white mat, and picture inside there. Not only does it keep focus on the image, but because I can buy these easily and in bulk, which helps keep costs down. Also, it makes ordering new materials easier (these will never go out of style…) Even if you end up going through a frame shop, getting a classic style can make it easier to match things up down the road. So, what if classic is not your thing? That’s cool too – but remember, the more off the beaten path you go in framing, the tougher it can be to duplicate and repeat down the road (which can also increase costs).
Be aware of the learning curve
Buying things in bulk means you will have to do a little of the legwork yourself. For instance, say you buy 50 mats from some online reseller and save money there. Congratulations – but do you know how to mount a print to a mat? You can tape a print, hinge it, or even super glue it. Each will have pros and cons, and your results will vary depending on how much you know before dipping your toes in the water – so read up on attaching prints to mats before deciding to DIY. (Quick tip: You’ll ne to stockpile various supplies depending on your eventual display method including things like hinges, foam core board, low tack tape, perhaps a few cans of spray-on adhesive and perhaps a few Exact-o blades if you are cutting your own mats to custom sizes. Heck, they even make mat cutters that you can get at hobby shops!)

- Some Supplies
Don’t Go Overboard
Much like the mat work, framing can be tricky in and of itself. Making your own mats can be initially be pricey to get all the tools you will need (see above) . Framing is no cheap project either. Making your own frames involves getting long lengths of the borders, cutting at precise angles, and making sure it all seams together cleanly. It requires patience, attention to detail, and specific tools which can be a drain on the wallet (Have you priced a miter saw at Lowe’s or Home Depot? Even the cheap ones aren’t real cheap!) So, if you want to go the DIY route, know that some startup costs will be associated with it.
Storage Issues
Physical prints, physical mats, physical frames, physical glass pieces – all of these take space. How do you store all this stuff and in some semblance of order? First off – find an understanding and encouraging significant other? Don’t have one? Make that a requirement if you do! The amount of space that is involved in storing not only the obvious stuff, but the not-s0-obvious stuff, can be staggering! I have so many boxes of materials it really is ridiculous. It helps to have a system though, and labels are always a good idea.

- Shoeboxes make great sizes for lots of things

- Never have enough storage

- Never have enough storage
********
So, there’s my trifecta of tips for framing your work. It’s just a starting point, but will hopefully help when you decide to start framing your work for display. The results can be rewarding, but like anything else, with a little work, pre-planning and preparedness, you will be well on your way to having a gratifying gallery of imagery!

- Some Prints on the Wall

- Some More Prints on the Wall
Keep in mind though – I certainly do not have a corner on the tips and tricks associated with matting, framing, and displaying your work…there are many other elements to consider and be aware of. Just peruse the comments here to see a sample of what I am talking about – oh wait, that means you gotta share your own tips, tricks and ideas in the comments too! So, sound off – what else do people do when preparing prints for framing? Any styles that work? Any vendors to recommend?
That’s it for today…thanks for stopping in, and be sure to stop back again tomorrow for more photo goodness. Happy shooting and we’ll see you then!
Blurring Water
An interesting question came cruising through the blog a few days ago. While the submitter wished to remain anonymous (I asked them if I could share the details, which I always do to encourage any and all questions)…the details of the answer follow here today. You see, what this person wanted to do was capture an image that included several challenging elements…including windy conditions, early (and late) light, moving water, and a deep need for detail from front to rear.
Without going into more detail, here’s basically what the shooter wants:
- High depth of field to capture detail (which requires a high aperture setting (f16 or f11)
- High shutter speed to freeze the leaf movement in the trees
- Blurred water
If you know anything about the exposure triangle (which we’ve talked about here before – shutter, aperture and ISO), then you know that any hopes of blurring the water with simple exposure adjustments is almost impossible. WHile it can be done, the result will require post processing because at some point you will need to have a shutter speed where it’s long enough to blur the water. There are some steps you can take in camera though – through ND filters.
ND Filters (Neutral Density) are basically light stoppers – they cut the amount of light that hits your sensor. From anywhere by 50% to almost 100% (Check out the Wikipedia chart here for specifics). You can stack them to net a greater effect (some of the dark ones are pretty expensive).
Even with the ND filters though, the end result will be blur in the water (wanted) and blur in the trees (not wanted). So, some work is needed in your post processing. I’ll propose two ways here:
Method #1
Overlay multiple images in Photoshop – Take several bracketed exposures and overlay the parts you want of each image to show through. You can use the Mask tool to do this. The problem here is that it can be tedious and time consuming to get things just right.
Method #2
The other way would be to take one image into Photoshop and use the blur tool or some other equivalent plugin (of which there are several), where you can selectively blur the area of the photo where you want it (but always do this on a duplicate layer or duplicate copy – never do this on the originals)…
Kind of a detailed post for a Friday, but one that I thought would be worth sharing regardless. Did I miss something else? If you have any other ideas that may be helpful, feel free to sound off in the comments with them as many brains are better than one! Anyway, as we head into the weekend, there are just a few blog notes to let you know about:
- The Topaz/Thinktank Contest has concluded, and I am waiting to hear from the vendors on who the lucky winner will be, so thanks in advance for your patience.
- The October Contest is now under way! We’ve got a very exciting contest from the folks at Noiseware – makers of the famous Noise Ninja software. This software is fabulous at reducing noise in your images. I’ve reviewed this in the past here on the blog, so feel free to peruse the archives for that review. Why is it exciting though? Because they are giving away TWO copies of the software – so we’re going to split this one up – one will be given away this month, and another at some yet to be determined point in the future. The thread is now up in the Flickr Community – so feel free to start sharing your images there. The theme this month: Fall
- Last but not least, a question for the readership – I am putting the final touches on something new and exciting that is coming out very soon for blog readers, but I am wondering if there is enough interest in doing something else as well – a forum! I know, there’s tons of forums on the web, but I have literally connected dozens and dozens of people with similar needs and interests through the blog and podcast, and thought that CB might be in need of a community where participants and readers can share with one another. There would also be areas to discuss recent podcasts, to share websites, and other useful online resources with one another – and who knows what more. The first step though would be in setting it up – but to do that requires just a smidge of work. The question is – is there enough interest? So, sound off in the comments, let me know if you would like to see that happen!
Okay, well this post has turned out to be much longer than I had anticipated, so let me stop rambling now. Hope your weekend is great, and we’ll see you back here on Monday (hopefully with the new announcement to share)! Happy shooting and we’ll see you then!
Peruse your archives
First off, I’d like to extend a big time “Thanks” to Andie Smith for bravely stepping up to the plate and delivering a home run of a first Guest Blogger post. With 17 responses to her post, it is already ranked among the top five posts ever! Make sure you stop over and check out her blog and portfolio.
For this Friday, I’ve got a fun little photo tip for you and that is to peruse your archives occasionally. You may find something of interest where previously you didn’t. Since inspiration and creativity can strike at any time and anywhere for a different number of reasons, if you don’t like an image immediately, consider just archiving it for a while. I do…and every month or so I peruse my own archives to see if some gem escaped my first glance. Here’s a few that initially didn’t strike my fancy where now I am thinking “Hey, there might be some potential there!” What do you think?
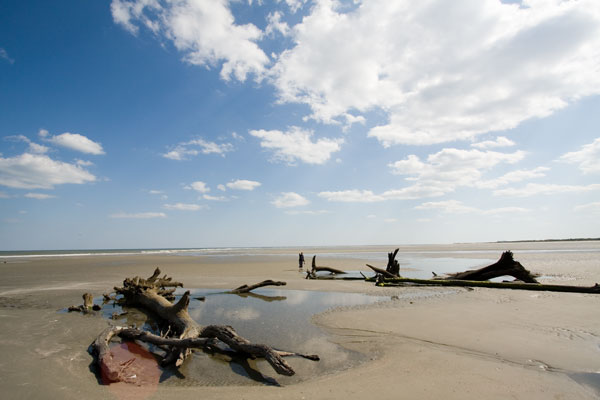
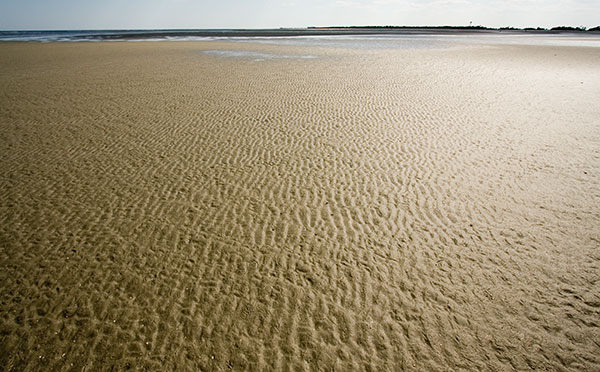
Last but not least, don’t forget, the $500 Giveaway for a Topaz Photoshop Plugin Bundle and and Thinktank Multimedia Photo bag system will close for entries tomorrow at midnight! (I had thought it was tonight earlier, but in referencing the Flickr thread, realized it’s tomorrow, so you got a 24 hour window to get your own photo creations in. One person did ask if “Topaz” had to be in the picture and the clarification was made that ANY color is fair game (or even the lack of color if that’s how you interpret it…) The Flickr thread to enter your photos is here: $500 Giveaway
That’s it for this week, have a great weekend, happy shooting and we’ll see you Monday!
For the Love of Gravy Focus on the Eyes …. Please
I hear a lot of chatter out there about how many photographers are in the market, and how soccer moms with a camera are taking your clients. Are you sure they are taking your clients, or are you losing them because you are not trying to be the best photographer you can be? (sounds like the army!) Just because Digital SLR cameras are affordable doesn’t mean everyone can be an amazing photographer. Your job is to be the best photographer you can be, and stand out among the others. How, you ask? Well, start with the basics as it builds a solid foundation:
1. Focus on the eyes…please!
I see so many portraits where the focus is on someone’s arm, knee, elbow. Until the elbow is the window into the soul let’s try focusing on the eyes (yes there are exceptions… but the elbow usually isn’t it). By learning how to control your focus on your camera you can stop your camera from focusing on the closest thing to it (like the nose not the eyes)
2. You look like your brother Yoda
Skin tones are usually not green, or orange. Proper white balance and exposure will fix this issue most of the time. I personally use a target to calibrate my white balance card (it has black/white/18% grey on it). If you are still catching a color reflection from a nearby object or clothing, you can fix this in post processing. Some of the ways I suggest are MCP actions or PictoColor iCorrect Portrait
3. Reach out and touch your neighbor
We have heard it over and over and over again: get closer to your subject. Unless you are photographing a wild animal, chances are they won’t bite. If you are capturing a family, they want to see their faces, not everything around them. Same goes for product, the client is trying to sell the product, so show it off!
4. Target called…they want their sign back
A.K.A. bulls-eye syndrome. Your image will be more interesting if the subject is not smack dab in the middle of the image. Play with the rule of thirds (hint, the focus points in your camera are conveniently placed in one of the thirds). What is the rule of thirds, you ask? Divide the area into thirds from side to side and top to bottom. Place the subject on an intersection of the lines at one side or the other. Go try it!
5. Get it right in camera
There is this cute little book that came in the same box as your camera. Read it. Learn it. Live it! Knowing how your gear works will not only help you become a better photographer, but it will also benefit you in that you will spend less time working on post-production! The less time you spend in post, the more you can spend shooting. The more you spend shooting, the better you get… Alternatively, you could think of this in terms of music: “Just because you can buy piano, doesn’t mean you don’t still have to learn to play it!” A lot of what you do in Photoshop can be done in camera. After realizing I did the same thing over and over in Photoshop, I set my user-defined picture style. The contrast is bumped up and the saturation bumped up. That is 2 less steps I have to do in post which in turn lets me spend more time in the field and actually doing what I enjoy – taking pictures!
6. Part of being a good photographer, is being a good editor
Here, I don’t mean post processing editing, I mean what are you going to even pull into post, and then what will you show your client and the world. I was recently teaching a private lesson, and my student said “I bet you never take a bad picture”. Well she was in for a surprise when I handed over my Compact Flash card to see the images I took that day. There were bad ones on there, but she will be the only person who sees them besides me. Show only your best, and you will look like the best photographer you can be!
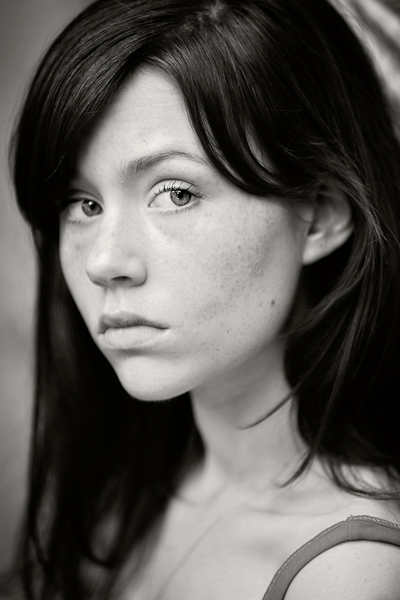

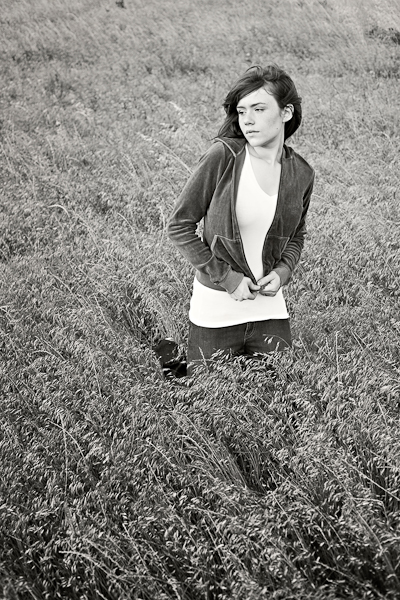
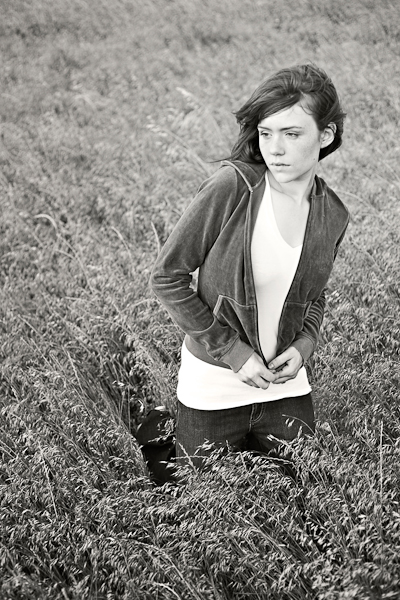
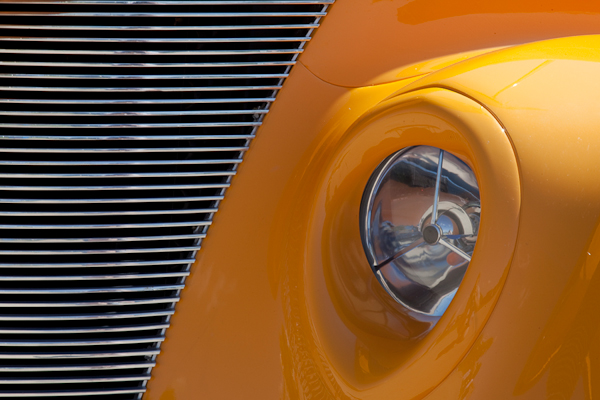
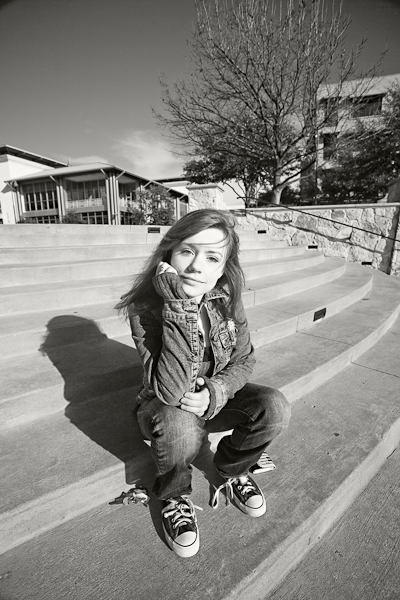
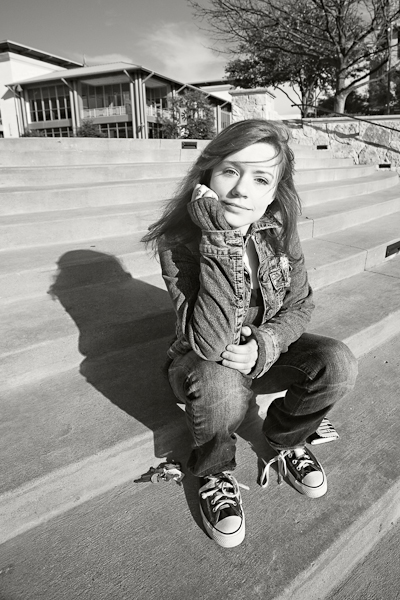
Thanks go out to Andie Smith for delivering such an amazing and well-received first “Guest Blogger” post! More Guest Bloggers should be forthcoming. If you are interested in becoming a Guest Blogger, please feel free to email me at: jason <AT> canonblogger <DOT> com!
Cabo Creativity
Last week’s first ever 5-day series of written work “The Five Elements of Control” featured 5 distinct ways in which you can control and increase the impact of your work. Those elements were through controlling for luminance, color, geometry, context, and composition. Hopefully, the perspective can be one many will find useful in elevating their own work. In taking the task to heart, today (my first day back after a week-long break in beautiful Cabo San Lucas), I am sharing a slideshow of some of my favorite recent shots. So, rather than suggesting others incorporate these techniques, I am trying to apply them to my own efforts as well. Here is where you get the chance to be the critic for my work, so by all means, share your thoughts, comments, feedback, and perspectives below.
In other blog and podcast notes, don’t forget, the $500 giveaway for the Thinktank Photo Multimedia Bag and Topaz Labs plugin bundle is still going on over on the Flickr site. We’re in the last week for submissions so we can wrap things up by the end of September, so time is drawing nigh! The thread to share your pictures (and the guidelines) is here for those interested. It’s a great opportunity to take advantage of some great products from Topaz Labs and Thinktank Photo (and thanks go out to the sponsors for their generous contributions)!
In case you haven’t noticed the sidebar, there are now short little audio tips being offered up courtesy of the folks over at Audioboo. The latest comes the shores of Cabo San Lucas with the peaceful waves of the Pacific crashing in the background! So, for the feed readers out there, stop on over to the blog and check out the audio tips – some hopefully good stuff there too.
Thanks also to the recording capabilities of my wife’s point-and-shoot camera, you are in for a special treat tomorrow in the form of a Quicktime video! Until then, here’s the promised stills from the trip. Happy shooting everyone and we’ll see you back here again tomorrow. (Don’t forget to let me know your thoughts and feedback in the comments!)

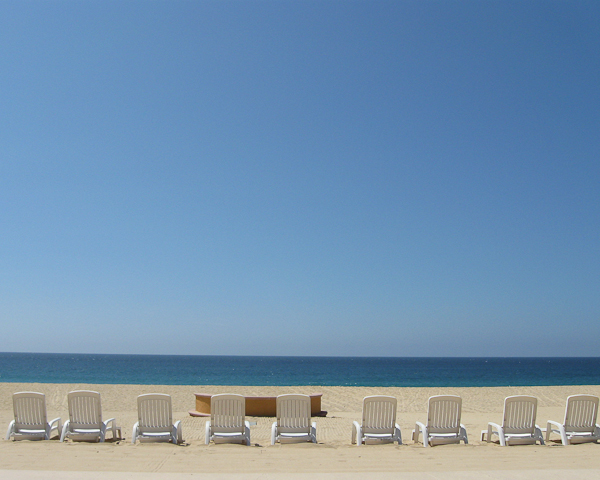



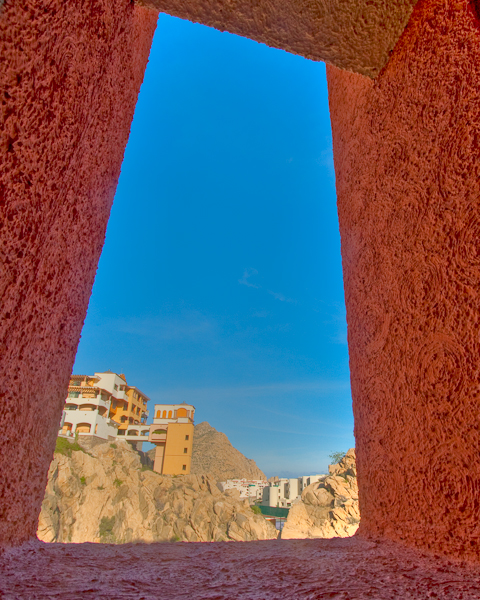
As a little postscript, since many will ask, I did my post processing in Lightroom and Photomatix (yes, some of these are HDR images). One image did reveal a pretty heavy dust spot on my sensor, so that one did see a round-robin through Photoshop for that one speck.
Five Elements of Control: #5 Composition
You knew it had to come back to this, right? I know, everyone is screaming by now “But Jason, you’ve talked about the Rule of Thirds until the cows literally came home!” Truth be told though, most people think about compositional positioning with their subject matter. While it’s true that subjects are ideally placed on a hot spot or along one of the gridlines in the ROT grid, but you can break the rules too, ya know! I say, put anything you want on a grid spot. Or don’t have a specific point of interest! Make the subject of your photo the space – negative space, as previously mentioned, can be a powerful thing!
You can also think of the ROT grid for any point of interest, not just subject points of interest. And, since we know that light (luminance, contrast, whatever your semantics prefer), geometry, color, and context can all be points of interest, then you can put any of these there and create visually grabbing photographs.
The greatest part of this exercise though, is that now we are looking at everything in a lot of new and creative ways. I bet you are asking yourselves lots of questions now: Does that light look good? DO those colors complement each other? What about that round wheel in a square table – that could be interesting, right? Keep on thinking and looking at the world around you from different angles and perspectives. Sooner than you realize it (if not already), your eyes will dart all over the place looking at things and you might not even be conscious that you are doing it.
When we migrate these exercises from the front of our brain to the back of our brains, making them automatic to the point where we no longer need to even think about looking for things – we just do it, then believe it or not, the compositional perspective also becomes second nature. You are already looking at how the light and colors on this corner of the room are really awesome contrasts to the darker shadows on the other side – and how cool is it that the funnel of light literally cuts through the darkness on that gridline?!
Some days you’ll have epiphanies, realizations, and great moments to capture, while others you may not see as many. Rest assured though, once your brain and eyes are trained to look for it – you’ll see it everywhere you go. So, take a look at the world around you – see what catches your eye – ask why if you like, but enjoy your moments, because these are the ones where you can really get creative with composition and take your photography to the next level! Just remember the Five Elements of Control:
Luminance
Color
Geometry
Context
Composition
Have a great weekend everyone – this officially wraps up my first week-long thematic series of blog posts. Hopefully you’ve found each one rewarding individually, and I would welcome any feedback, thoughts critiques, and comments, because this will likely become an eBook download. I’ll expand on each element some more, and include even more photos as examples of each, along with detailed critiques and highlights to help show readers why certain ones work, and others don’t.
So please let me know your thought! Who knows, feedback may get you a free copy of the eBook and a mention in the credits if you do! Thanks too, for all the comments already throughout this week, with your comments and insights on both the written word and photographs. We’ll be back to regular posting starting Monday! Until then, Happy Shooting!
Five Elements of Control: #4 Context
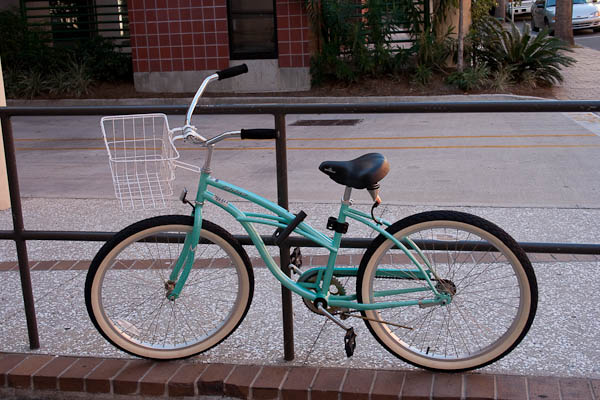
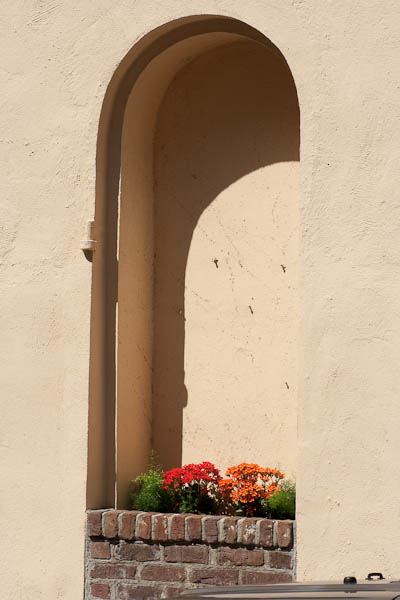
Have you ever seen something that looks so out of place that it catches your eye? Well catch it with your lens too, because contextual positioning of subjects in interesting or unusual/unexpected areas creates visual interest. This is what I refer to as controlling the context of your subject. So many times I’ve heard people tell me “but how can I change the surroundings?” The answer lies not in changing the surroundings of subjects you want to shoot, butin reversing that idea: find unusual subjects in your given surroundings. Say you are on a photo walk and in a city area. Well, try and find subject matter that contradicts the sense of city.
Additionally, you can also create contextual appeal by the use of negative space too. See something standing all by itsef, or away from other things? That’s a picture possibility! Conversely, something that is amidst other things could be a cue for creative expression. What if you saw a plastic water bottle among some glass beer bottles? That could be cool…or what if you had a computer mouse sitting in a mousetrap? You can create subject and background contextual associations in your own environment too ya know. Photographers that make good money do it all the time. (Hint: that’s called stock photography! 🙂 )
Here’s a few examples to give you a springboard for creativity. Find something you like? Tell me below! (I love to get feedback on photos just like everyone else…) Got your own ideas? Share those below too! Sound off in the comments, and don’t forget to keep on shooting! (That Flickr Contest thread is still alive and kicking you know – great chance to win $500 of gear, including a Thinktank bag System and a copy of the Topaz Labs PS Plugin Bundle!)
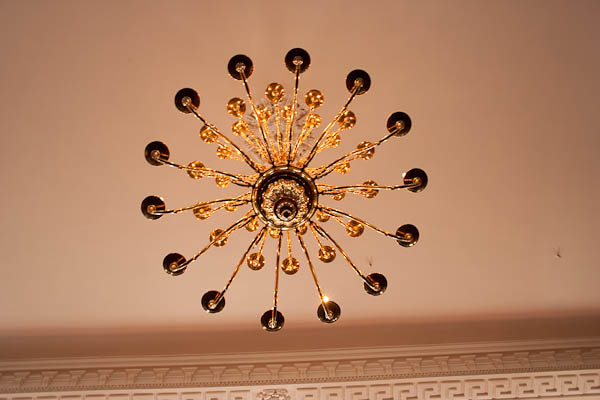

Five Elements of Control: #3 Geometry
Earlier this week, we looked at the idea of how contrast/luminance can impact a photo, and that your creative style may tend toward a wider contrast or a narrower contrast. Then, yesterday we looked at how the element of color can impact a photo, both in the sense of how colors can balance and compete against one another, and how bright versus dark colors can play off each other. Since we’re moving from more theoretical to more tangible elements that we want to include in our photos, next up is the geometry of our photos.
So, what is geometry? Basically, it’s shapes! Shapes are everywhere, and the types of shapes (or the geometry) can play a huge role in the impact of your photos. So, it makes sense to include geometry as an element of control. Since shapes are nothing more than lines that are connected together, this also means we are looking at the lines in a photo. Whether it’s long rectangular lines of grass or circular lines of a persons eyes, the sharpness of square and angles lines in architecture or the looping curves of ovals in a landscape, shapes and lines can really define our work. So, with that in mind, let’s look at a few photos here to help illustrate what kind of impact different shapes can have. Look through the images and see if you can find all the different types of geometric shapes. What kinds of shapes do you see? DO they help or hurt the photos? Share your thoughts in the comments! In the meantime, Happy Shooting and we’ll see you back here tomorrow for #4 of the Five Elements of Control…(any guess what it is? 🙂 )

