Focus Stacking: A Primer

With all the talk and hooplah over things like dynamic range, HDR, Megapixels, and the latest and greatest bells and whistles in photography, some of the staples in composition are often over-looked.  Focus stacking is one such area.  Most folks kind of look at me quizzically when I bring this topic up, primarily because it is rather niche and unique, but it does rely on principles of composition that have been around for a while.

First off, focus stacking is used mostly in genres like macro photography, where intricate detail is needed across a range wider than what the aperture will allow for during composition.  The principle is much like the layered approach to HDR imagery – where you stack layers of images with different compositions on top of each other and blend the right portions through the entire image.

Where focus stacking differs from HDR is the types of images that you are layering.  In HDR images, you are compositing images with different exposure values over one another.  In focus stacking, you are not changing the exposure values, rather just the point of focus.  As depth of field drops off both in front of and behind your focusing point, the subject will blur.  While this may be an appreciated blurring technique in some cases, in other cases, getting different depths of field from different focusing points can make for a tack sharp macro throughout the range of the subject.

As is most often the case, explaining a photography concept is best done with images, so let’s take a look at an example.  For easy demonstration, I took a white cordless phone and placed it on a black background.  This way color issues are kept to a minimum…

First Focus Point

Notice on the first focusing point, the sharpest point is right near the front?  It also quickly drops off into the background as I was shooting at f2.8  The low aperture number means I will have a very shallow depth of field, which is what is causing the blurred background.  To bring the rest of it into focus, I need to “stack” more shots that have a different point of focus.  So, let’s add another few to the composite:

Second Focus Point

Third Focus Point

Fourth Focus Point

Fifth Focus Point

The end result from stacking all these together can be accomplished by any one of a number of methods ranging from the most time-consuming of doing it manually inside Lightroom or Photoshop, and the most efficient one of using 3rd party software.  While several options do exist, the one that has become pretty much the industry standard is that of Helicon Focus!  Their quality of processing is, bar none, among the best I’ve seen.  More on that likely later this week.

In the meantime, here’s the result of an image that has been focus-stacked:

The Final Result

It’s a quick edit, and done with only having focus-stacked 5 images.  If I wanted a really detailed depth of field on something more important than a cordless phone from circa 1990’s, I’d likely have taken at least 10-15 images and massaged them through Helicon Focus more carefully.  More details on this entire process are coming up later this week, including reviews of the Tether Table (which will be given away this weekend as the March contest comes to an end), Helicon Focus, and the light triggers from Blackbelt Lighting.

For a behind-the-scenes footage video, stop over to the Facebook page!  (Be sure to “like” it and share a comment while you are there…)

Three Tips to Shooting Better Macros

At some point, the allure of macro photography in all its intricate detail entices us all to either buy or rent some glass that has the power to take us to the enchanting 1:1 ratio where we can see things full size!  When you do take the plunge though, there’s a couple things to keep in mind when capturing macro-scale photographs:

Shell in the Sun

#1 – Stay sharp or stay home – Nothing loses the appeal of macro enthusiasts more than an image that is out of focus, at the macro level.  There are notable exceptions of course, but we are zooming in close to see the details, so unless they are sharp, we just aren’t interested!

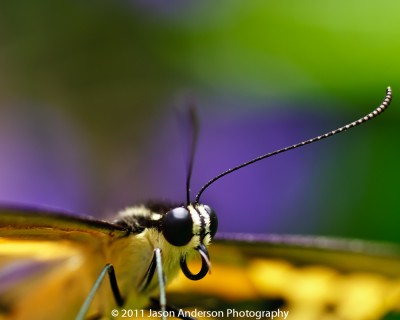
Antennae

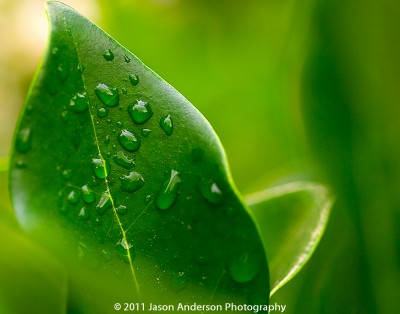
#2 – Keep it simple – Too often, people will jump in and try to capture something highly detailed in a macro shot.  The problem is that often times you are dealing with a very shallow depth of field (low apertures in the 2.8 – 1.4 range), which means detail is lost either in the foreground or the background, or both!  This can be appealing in some cases, to have the fade from sharpness to blur, but in others, it’s not as effective, which means you’ll have to deal with focus-stacking.  It’s kind of tricky, so when starting out, stick to simple compositions like flower buds, water drops, and other such objects of interest (even a quarter’s edge can be appealing).

Leaf and Water

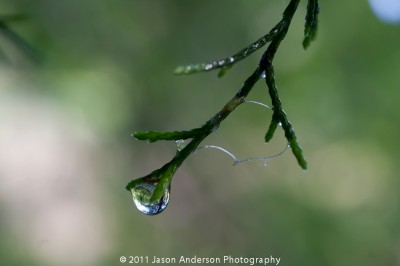
#3 Be aware of your background – Even though the background is often way out of focus, the color or tone of that background can make or break your photo.  Make sure it’s either a complementary color, or sufficiently blurred as to be indecipherable.  This shot I took on our street, with the road and vehicles beyond the branches.  They are so out of focus though, it’s literally impossible to tell the difference.

Raindrops on the Street

So, what types of scenes sound appealing to your macro instincts?  Consider buying a macro lens (or renting) and taking one out for a test spin.  With these three tips (and others) you will be well on your way to taking and making phenomenal images!

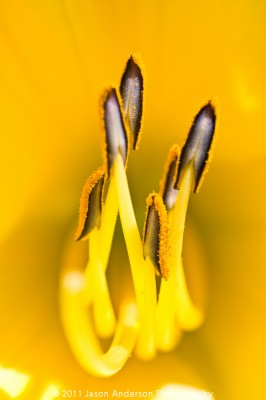
Yellow on Yellow

Don’t forget to sound off in the comments with your own tips, tricks, thoughts, and shots on macro photography!  Happy shooting and we’ll see you back here gain for another round of photo goodness!


Enter your email address: 

Delivered by FeedBurner 

Black and White Adjustments in Lightroom 3

As a regular contributor to the PhotographyBB magazine (which you can download for free simply bu subscribing here), I enjoy putting together articles to both educate and inspire.  In this upcoming month’s issue, I am guest-writing a tutorial on Black and White editing with Lightroom 3.  As a sneak-peak of sorts to the readership here, I’d like to share the first portion of that article…enjoy!

***

The power of Lightroom has been so well documented from various outlets across the internet and magazines, I often find it surprising that such a small amount of space is dedicated to black and white photography.  This month, I’d like to take an opportunity to delve more into the creative adjustments you can make in Lightroom to bring out more in an image than just shades of gray!

There are two areas in Lightroom where you can make creative adjustments to the color to make things pop.  The first two HSL (for Hue, Saturation, and Luminance) and Color are great resources to use when you want to massage the color palette of your image.  The Black and White “tab” though, is where it’s really at.  When you click this tab, the image will be converted to an automated black and white adjustment, where the colors are converted to shades of gray – with no color tones at all.  This is where I’d like to begin the exploration:

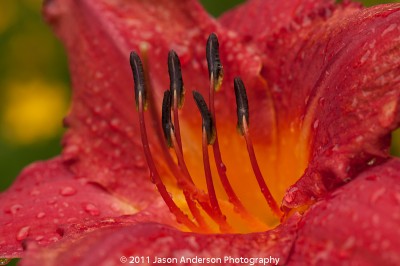
While this can be a powerful way to present an image, the automated method of conversion is not going to work all the time (and for my tastes rarely does the default conversion work).  So, you have to dive in and really get comfortable with adjusting color tones.  To start off, I am using a pretty basic image – a red flower, and you can see that there is absolutely nothing wrong with the colored version of the image.

Red Flower

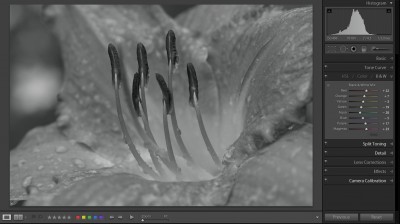
It’s got some great black and white potential though, so let’s go ahead and take it into the BW adjustment panel tab.  When I do that, the automated adjustments will kick in:

Default Black and White Adjustments

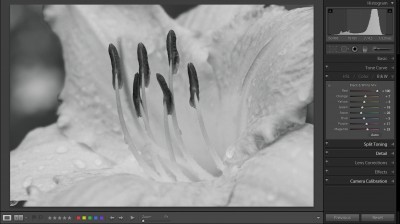
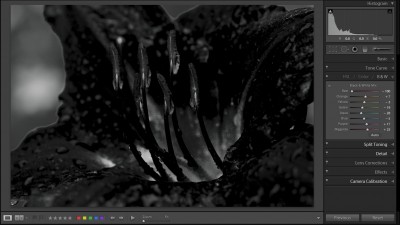
It looks interesting, but let’s see what massaging the colors just in the panel can do.  To start, since the flower was red and made up nearly 95% of the composition, I started with the red slider to see what the extremes would do on each end.  Here’s the image with the red slider taken up to +100 and then to the opposite extreme of -100…

Red Flower +100

Red Flower -100

In both cases, for me it’s an absolutely hideous image.  Clearly, there is a balance that must be struck somewhere in the middle – the question is where?  Well, now it comes down to subjective tastes.  For me, the default adjustment had the red a bit too strong – which kind of hid the morning dew of the flower, so I dialed things back a bit, taking the red slider from +22 to -20.  The droplets are now much more visible as they are standing out from the petals!

Red Flower Conversion Progress

So, now we are getting somewhere fun!  I tested a few more sliders, and ended up with the yellows and oranges slightly higher than the default settings, just to give a bit more contrast.  Here’s what it looks like after the black and white adjustments are made:

Red Flower w/ all slider adjustments

Of course there is always a bit of sharpening and noise reduction to make in post production, as well as lens correction, and even a little bit of vignette from time to time to help draw the viewer in.  Once these are done, the final image definitely has a creative look and feel to it:

The Final Edit

It’s clearly not easy to decide both when, to make a black and white conversion, as well as how much to massage or tweak it to your tastes.  The ultimate decision is, of course, up to you as an artist and photographer, but you can’t get there by avoiding the Black-and-White panel!  Take some time to explore it!

***

There’s more to the article than that, and it has been modified somewhat to make for a better blog post, so be sure you subscribe to the PhotographyBB newsletter when you have a minute.  It is free, after all, and probably one of the best sources of a diverse set of reading material you can find.  Dave Seeram, the editor, has been quite generous with his kindness and patience in my contributions!  Please stop over and give him your thanks as well…nothing but learning and knowledge to gain!

As always though, I end up being more curious than informative!  What types of black and white adjustments do you make?  Do you prefer the neutral grays, or do you like to add a hint of color to your b/w images too?  What methods have you found useful versus not so much?  Sound off in the comments as I love to hear how others are working through their own images!  Happy shooting and we’ll see you next time right here!

Like this post?  Subscribe to the email version of the RSS:

Enter your email address:

Delivered by FeedBurner

Defining your craft – and yourself!

Photography as we know it has changed a lot over the past several years.  The advancements of digital are pretty well-known, and have been written about extensively.  In addition to the nature of the medium, several other factors have come together in what photographers are calling “the perfect storm”.  Included in this picture are the decreased cost of entry, increased interest from a wider and ever-increasing portion of the population, photographers are finding themselves in larger company than ever before…to put it quite simply:  there’s more of us!

David Ziser, the quintessential wedding photographer did an excellent write-up in two parts (here and here) as a guest blogger over at Scott Kelby’s blog.  Not only is he an incredible photographer, his writing is among the best in the industry too!  I would highly recommend reading these two posts because even if you aren’t a fan of “The Kelby Kool-Aid”,  (although I must admit, I take a sip of it every now and then…) because these specific writings give insights and directions for all of us moving forward.  While the insights and perspective-changing considerations to take into account (including drive, motivation, work ethic, etc.) are definitely helpful, the more serious question that lies at the root of all of it seems to find a cornerstone in one simple question:  WHY DO YOU TAKE/MAKE PICTURES?

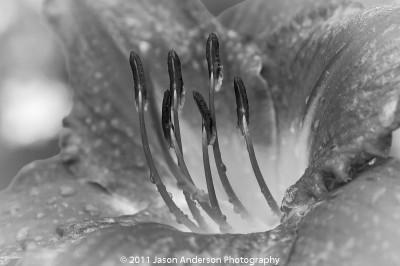
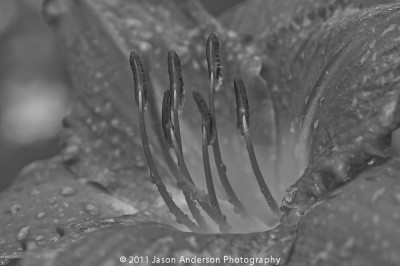
Without getting into the semantics of taking versus making pictures – my point here is that we all pick up the camera for different reasons.  And only in understanding those reasons can you really determine where you want to go and how you want to get there from where ever you are now.  We may pick up our camera to capture a moment in time, with dew glistening off the petals of a flower in the morning light:

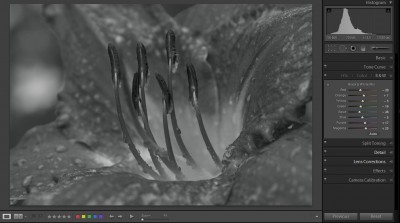
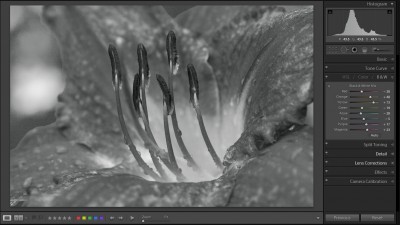
Black and White Flower

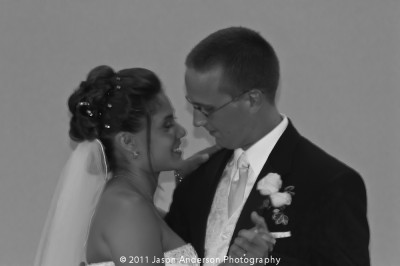
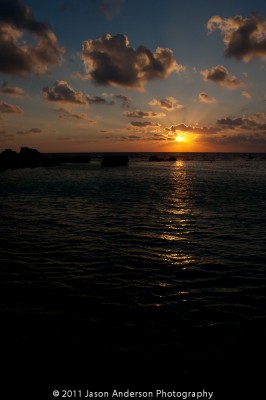
Does that make us nature photographers?  Absolutely!  But, by the same token, does that define us?  Of course not!  We may also enjoy capturing that beaming bride as she smiles and kisses her husband on their special day!  Or, we may revel in the laughter of children as we capture those moments in time!  By the same token, we may also be pulled on some deep and intangible level by the power of a sunrise or a sunset in some place!  Heck, maybe it’s even the place that moves us.  As David DuChemin says, “…vision is better!”

The Kiss

Laughter

Mexican Sunset

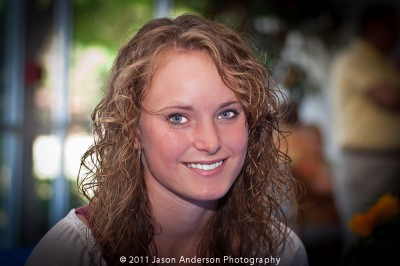
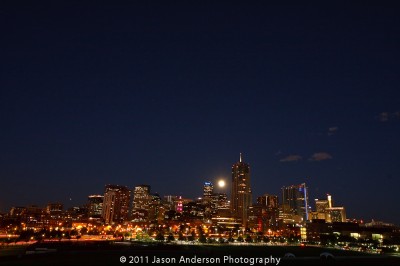
There are so many scenes and images that surround us every day, but yet so often we do not trip that shutter, because we likely are not tuned in to a particular vision or perspective.  So, the question then becomes:  What is your vision?  Do you see the beauty inside that awkward teenager who only smiles for family?  Or what about the majesty of a skyline timed so perfectly?  The fact is, we can find it everywhere, and while we can blog and twitter, and Facebook until the cows come home about our latest project, or to promote and network across so many sectors of the economy (whether it’s improving or on the downturn), what ultimately matters is what motivates you to shoot in the first place?

Those Eyes!

Denver Skyline

When push comes to shove, the foundation for creating photographs (I believe) is something that comes from inside.  You have to want to be there, capturing that moment in time in order to the vision to really come to life.  Whether it’s a sunset, a smile, a skyline or anything, if you’re not true to your own roots, then twittering about it all becomes less than inspirational.

Of course, I could be completely half-cocked, and off base entirely here.  What do you think is at the root of photography?  Is it for the passion, the fame, or the glory?  Or is it something else altogether?  What drives those like David Ziser, Joe McNally, Zack Arias, David DuChemin and the rest to such degrees of excellence?  Time and again, what makes them and folks like them rise to the top?  Share your thoughts, comments, and feedback below!

The Woosh of the Wind!

Journal Entry #1 – 2011Snowmobiling in Copper Mountain

Date:  January 1st, 2011
Location:  Copper Mountain Colorado
Temp:  -20 Fahrenheit
Wind:  10-20mph
Wind Chill:  -41 to -45 F!

What is this a great day for?  You guessed it – a snowmobile ride!  Seriously, I went on just such an excursion the morning of the 1st!  I layered up in my best winter gear:

  • Layer 1 – Thermals (long underwear)
  • Layer 2 – Lounge pants
  • Layer 3 – Blue Jeans
  • Layer 4 – Snow suit

It worked quite well as I never really got all that cold!  I took off from the house in Keystone CO where we gathered for the holidays with family, and drove the 45 minutes from 9900 feet to the 11,000 foot mark.  Nearly two miles above sea level now where the air is downright thin!


Snow and Ice in the Air

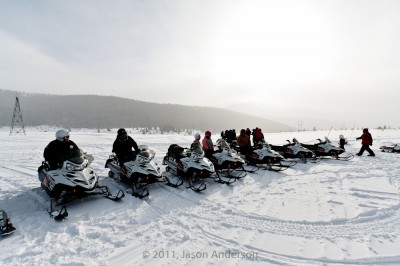
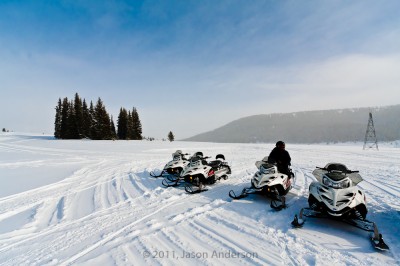
It was a nice tour, led by the well-regarded folks of Summit Concierge and their services across the Colorado Rockies. The tour guides were friendly, we got some handling time in a track loop to familiarize ourselves with the equipment, then they split us into two groups of six for some pretty exciting scenic views.  One group was a family or two, then the other was mostly adults (myself included, although I felt like a kid – adrenaline surging as we whipped around at about 30-45mph on our Polaris snowmobiles!).

The Whole Gang!
The Whole Gang!

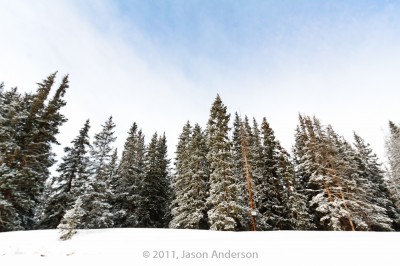
As we crossed the mountains, with snow-covered pines, and gorgeous mountain-scapes.  Of course once we rode above the timber line, the scenery was just the white snow against the slightly paler misty sky.  It wasn’t snowing as at that temp, it’s just too cold.  Instead tiny bits of ice dusted the sky with hints of bluer skies behind the flakes of snow and ice.

At the summit!
At the summit!

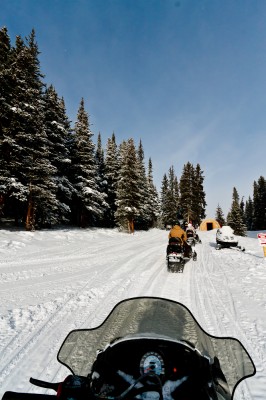
I did imagine that we would get a bit cold in our extremities, as we whipped along.  After all, with a -20 gauge on the thermometer, 20mph winds and us tooling around with another 30mph of wind, it was likely very nearly around 50 below zero! But the handles of the Polaris were heated!  As you moved, the heat increased to snuff out the effects of the wind.  When we stopped I even took my gloves off to pull out the camera for some photography!  No gloves!  in 40 below temps!

Heated Handlebars Below...

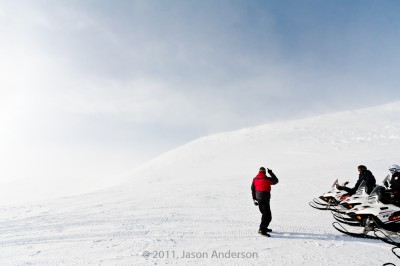
The camera though, did not have the pleasure of heat, so it didn’t last too long, even inside my external snowsuit to shield it from the bitter cold.  I got perhaps 45 minutes of shoot time from the two batteries I packed.  The point and shoot fared better as it was inside my own snow jacket pocket, closer to the warmth of my own core heat. But it even capitulated to the cold after being taken out for a mere 20 minutes!  I found this out at one of the rally points…

Rally Point Break
Rally Point Break

Regardless, it was a great ride, with half pipes, remarkable scenery and even a stop for hot chocolate halfway through (the tour guide started the heaters as we began the trek)! For the adventurous – this is definitely one to consider when  you go to book your next adrenaline tour!  It was a great way to usher in the New Year!  How did you celebrate the start of 2011?  Share your thoughts, shots, and feedback in the comments below or via email.  Don’t forget to share socially too!

And finally, for those that read all the way through the journal article, here’s a short video I took from my Flip HD Video (Christmas Present):

[display_podcast]

Making Resolutions…

Do you like New Year’s Resolutions?  I don’t.  We always make vague references to “become better with portrait work” or to “improve my flash techniques”. There are countless others of course, but you likely get the idea – resolutions are often too vague.  Even when it comes to the classic ones of “lose weight” and “eat better”.  The problem lies in the inherent nature of such resolve.

While the effort and idea are splendid – they are vague by definition and thus, difficult to define success in achievement.  How would you define “better” or “improve”?  There is also no accountability when these statements are made.  So, when making resolutions from a photographers point of view, it helps to define your resolutions clearly, and to share those resolves with others, so as to make yourself accountable.

My goals?  Funny you should ask, because I have the same goal I made last year – to shoot at least one project each and every month.  And I did it!  Here’s the project I did for each month:

The goal for the year was to shoot more and write less.  While I still plodded away at the blog in an effort to provide continued content for the readers here (and I hope you enjoyed 2010)…more effort went into advancing my own photography library in 2010.  The stakes are raised for 2011 though.  As you may have noticed, some of the “shoots” weren’t as planned or dedicated photo shoots as others.  The Pumpkin Patch outing was definitely a multi-functioned event!

So, for 2011 – my goal is to go on an outing with photography as the primary focus! And, here I am happy to report that the month of January for 2011 has already been covered with a snowmobile outing on January 1st!


It was indeed quite the outing, and I learned quite a bit about shooting in extreme cold weather.  More to come on that as I put together the assembly for publication later this week.  Another shoot might be forthcoming on the same vein, so more is also pending there as well.

Pretty exciting (although my wallet is nervous!) for 2011.  Sort of a photo/travel/expedition blog post will be something to look for each month during the upcoming year!  If you have any places in the area (i.e. Colorado/Wyoming/etc.) that you would like to see me capture, say the word so I can take it into consideration sooner rather than later.  I’ve got some irons in the fire already scheduled for certain points during the year, but nothing affirmative as of yet.

What about everyone else?  Have you made any concrete resolutions?  Do share them in the comments or via email – an upcoming podcast will likely take some of your thoughts, comments, and feedback into consideration!  Happy New Year all and keep on shooting!

About Last Night…

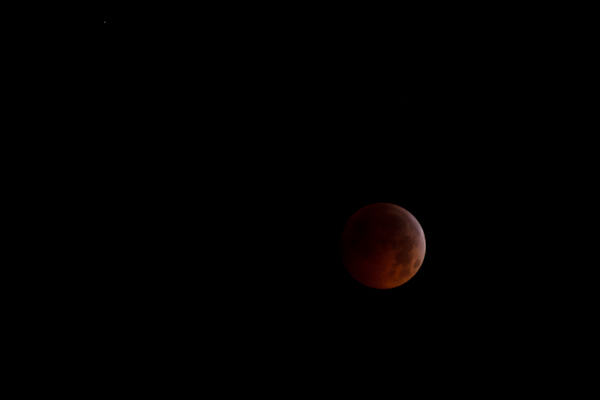
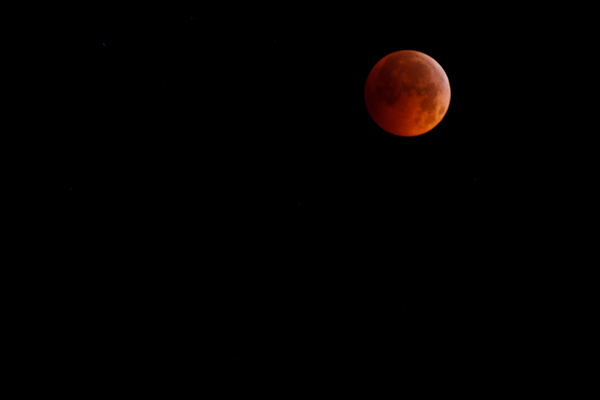
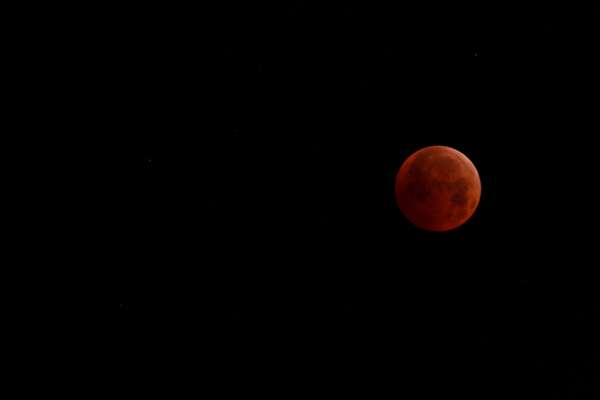
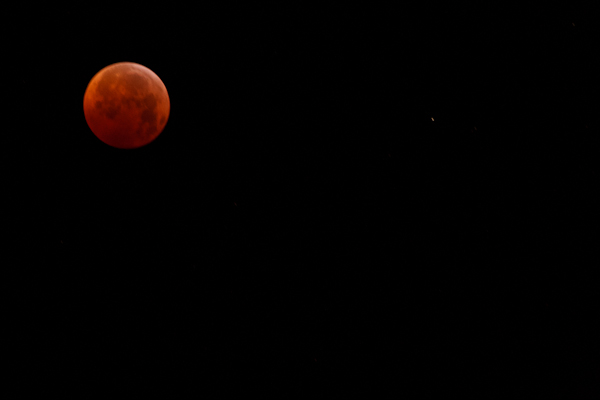
The first lunar eclipse to occur on the winter solstice occurred.  It’s the first time it’s happened in 600 years…and apparently won’t happen again for another 400 years.  I had two strokes of luck with this amazing astronomical event:

#1 – the path of the moon tracked almost directly over my house!  Literally!  I took maybe ten steps out my front door, and there it was, beautifully tracking across the sky.

#2 – Let me re-phrase that…beautifully tracking across the cloudy sky. 

At first it was just a few wisps…I started to capture a few shots at 10.  You know, to sort of document the before, during, and after.  But, by 10:30 the wisps were sticky patches of cloud cover.  By 11, even my naked eye could not discern any detail anymore.  It was very disappointing…

So, I put the camera away, began this post and went back out to glance at the sky for a bit before bed.  And as the first yawn escaped my tired body, sure enough, the clouds began to peel away.  At the halfway point, I finally grumbingly ran inside, bundled up, and grabbed the camera/tripod set which were already in place.  I’ve not done much post production on these, but here’s a select few:

I am sure others will get wonderful views, and the folks at NASA, Roswell, SETI, and all the others will document it quite nicely for the rest of us. But…it’s just not the same as viewing it in real time.  When all was said and done, I was glad I stayed up to watch it.  Not only did I end up getting some nice shots, but I got to see almost the whole thing before heading off to bed.

What about others?  Did anyone else stay up to watch it?  I’ll bet some pretty cool time lapse productions come out of this!  Share your own thoughts and perspectives in the comments.  Would love to hear from you!  Happy shooting, and I’ll likely have a full set posted tomorrow.

Did You Know…

Over the weekend I was down in Tucson, spending some time with the in-laws, and during the getaway, had a chance to catch up on some overdue reading in my monthly magazine stack (it has been growing steadily lately as other stuff has gotten in the way. I emerged from my readings with several “Eureka!’s” and “What a great idea!” so, figured to pass on the new-found or re-kindled knowledge here on the blog. (In the spirit of giving and all that…) So, without further ado, here’s a new feature on the blog:

Did You Know…?

1.  Fog is about 1 stop brighter than what cameras detect as 18% gray?  To compensate for shots taken in foggy conditions, adjust your exposure settings up by about 1/2 – 1 1/2 stops to compensate, otherwise you’ll get underexposed shots.

2.  Cameras are designed for right-handed people…the ergonomics are made to grip and adjust controls with your right hand.  Left-handed shooters have it twice as hard as the rest of us so double kudos to you!

3.  Pentax was actually the first camera vendor slated to release a full-frame DSLR camera, not Canon or Nikon!

4.  As you move light away from your subject, the output drops off by a factor of almost 2 to 1?  (It’s actually technically “double the distance, 3/4ths the output…)  Which means if you move your subject away, you need twice as much light at double the distance to equal the same output…

5.   To shoot a picture of the moon, use the Moony 11 Rule, just like the Sunny 16, but use f/11 and match the ISO to shutter speed

And since I was in Tucson this past weekend, here’s a couple holiday photos to tickle your funny bone…Christmas Tucson-Style:

Santa Turtle
Santa Turtle
Cactus Cap
Cactus Cap

Got your own DYK tips or photo nuggets?  Share ’em here on the blog.  I’ll likely start doing this as a monthly feature and would love to hear the ideas, tips and tricks that others have to share as well.  In the meantime, keep on shooting, and we’ll see you back here again tomorrow!